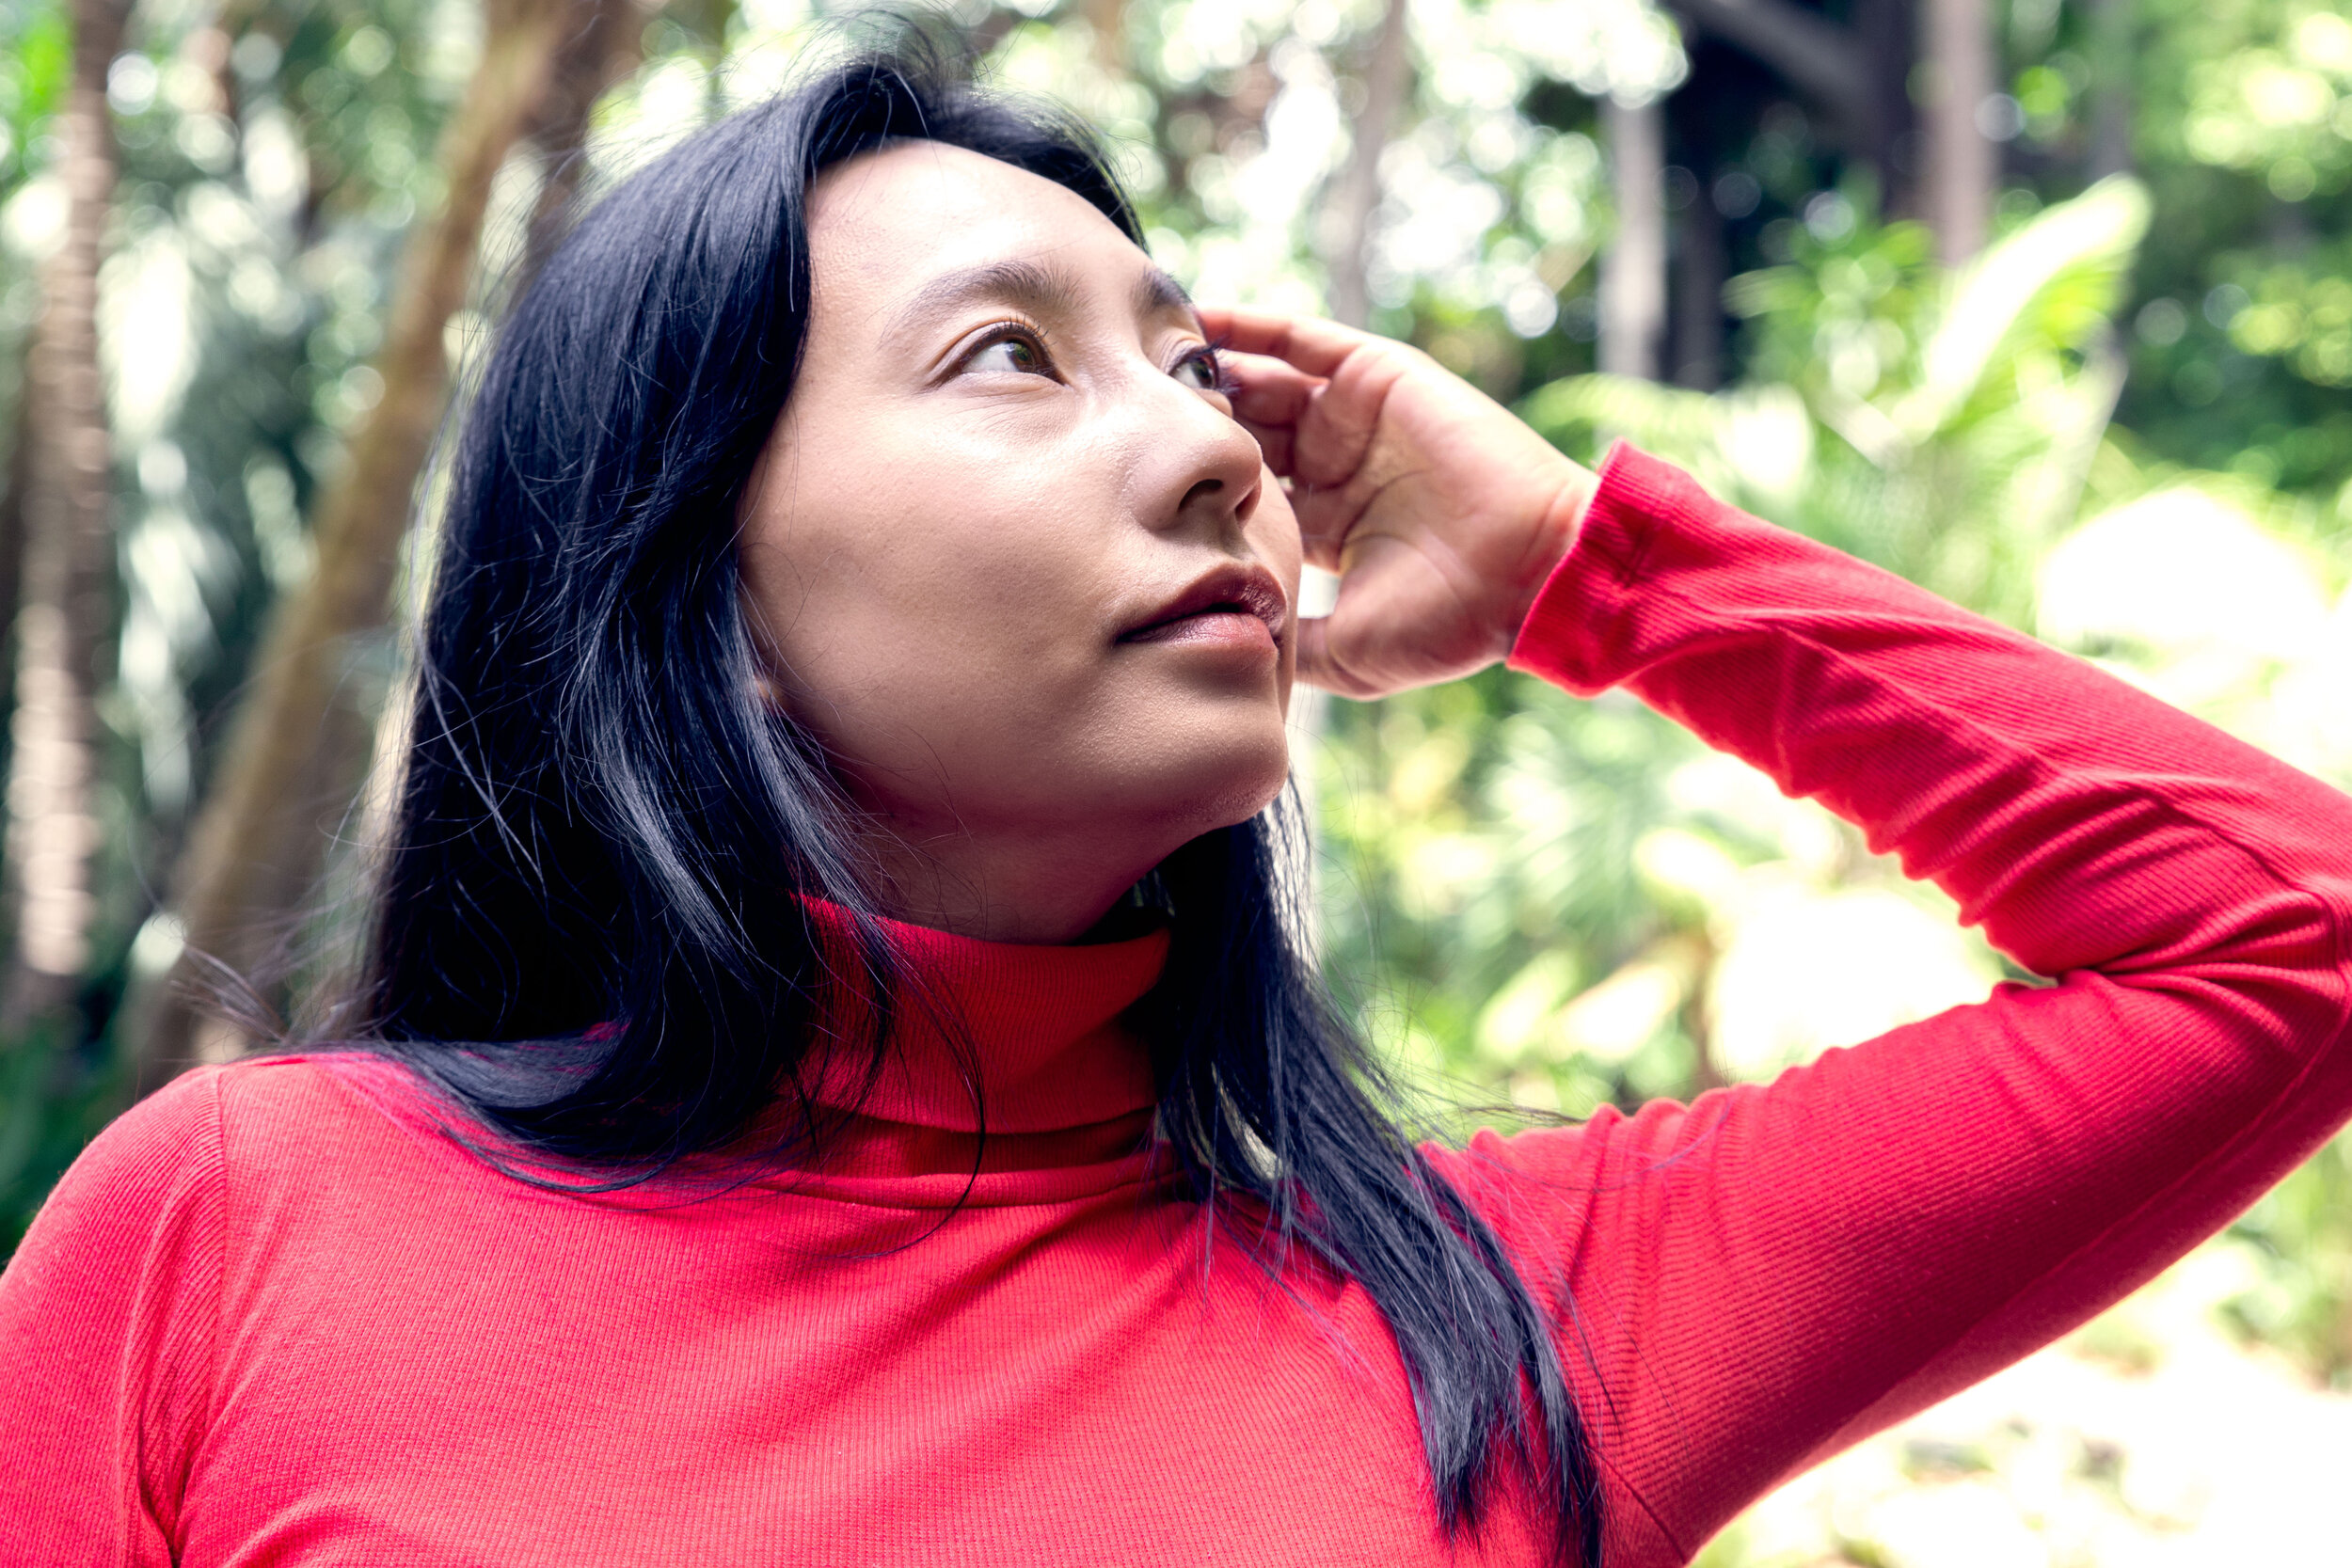
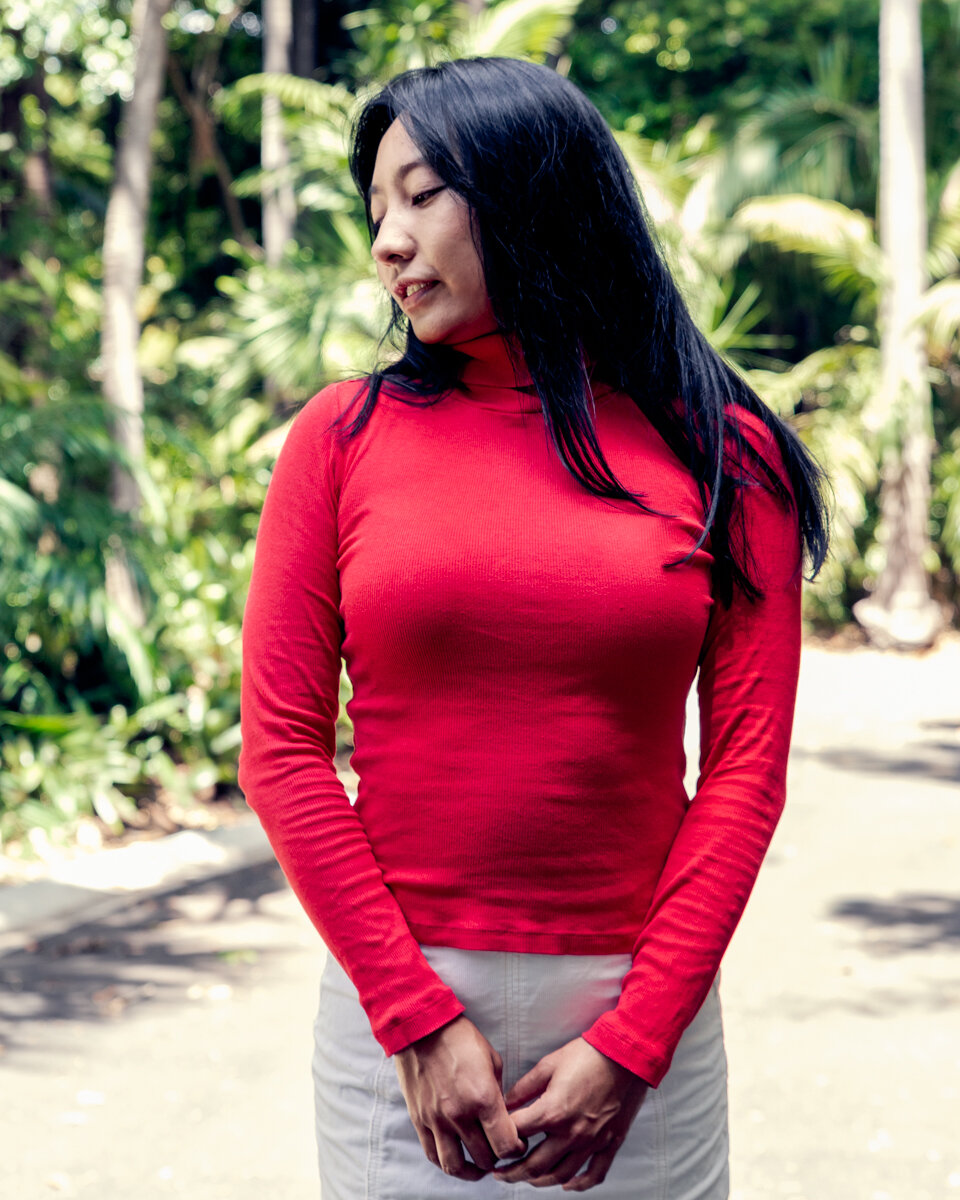
Yuying - From Isolation to Fitzroy

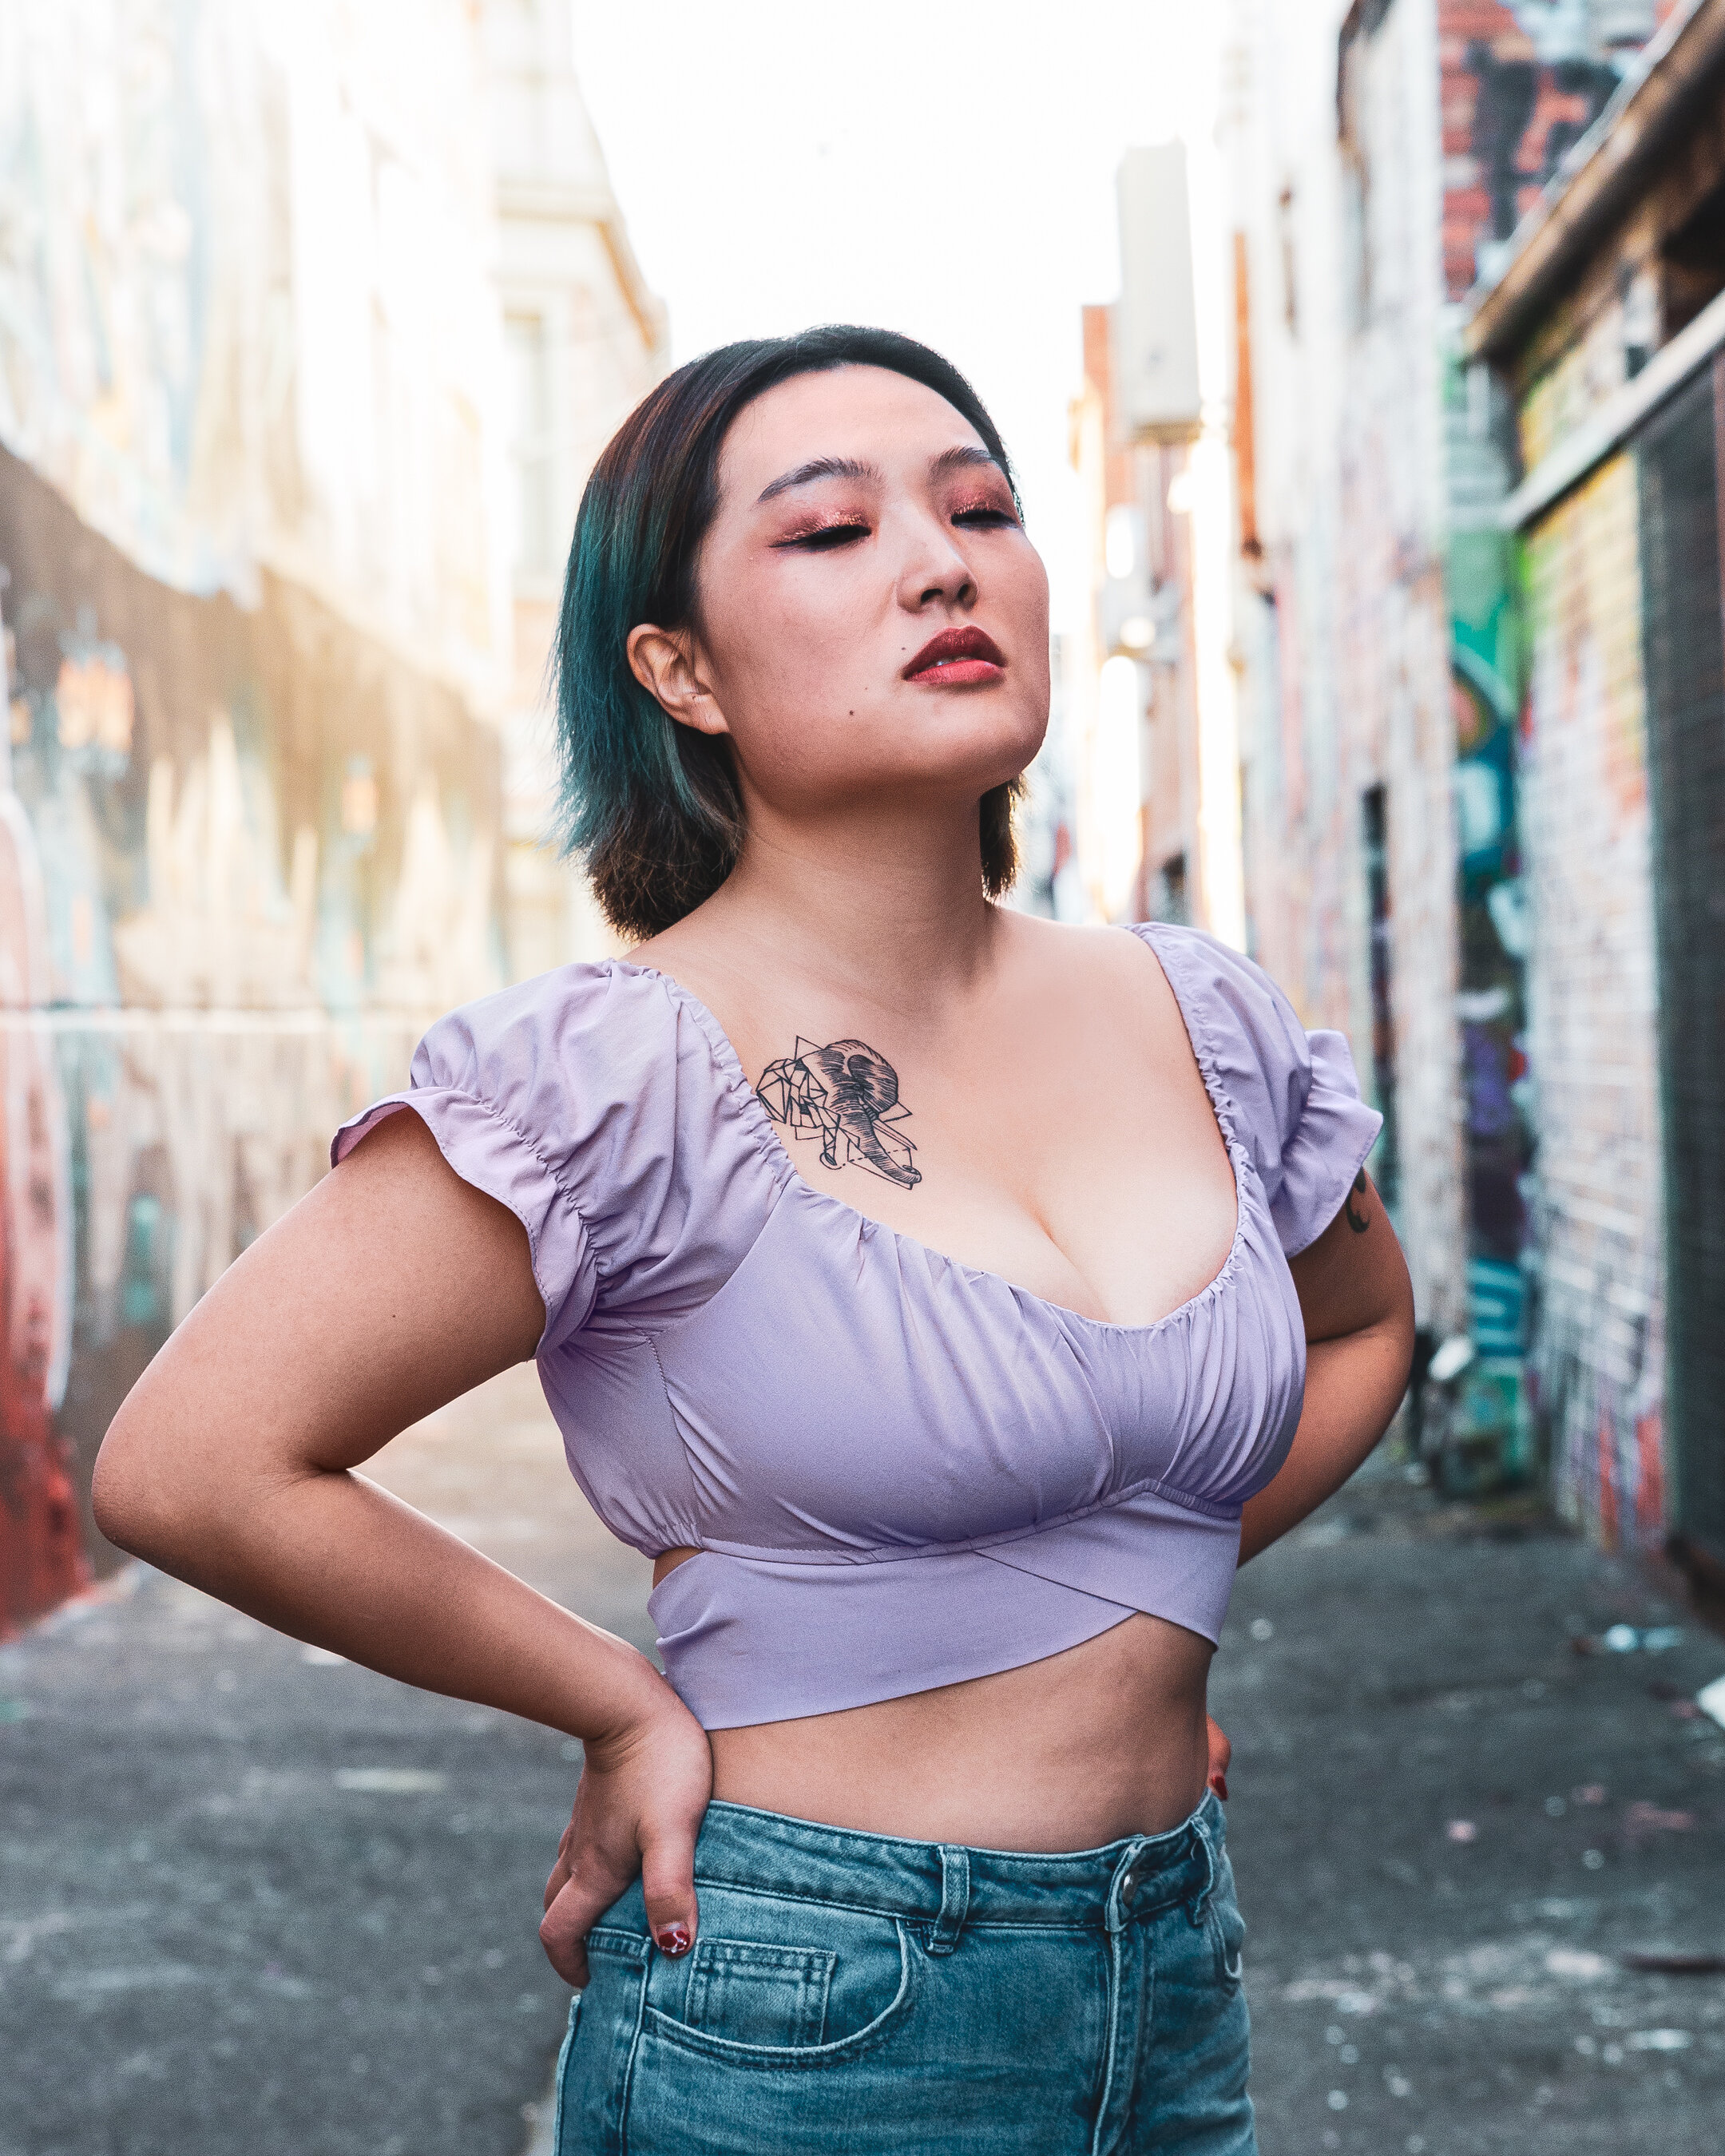
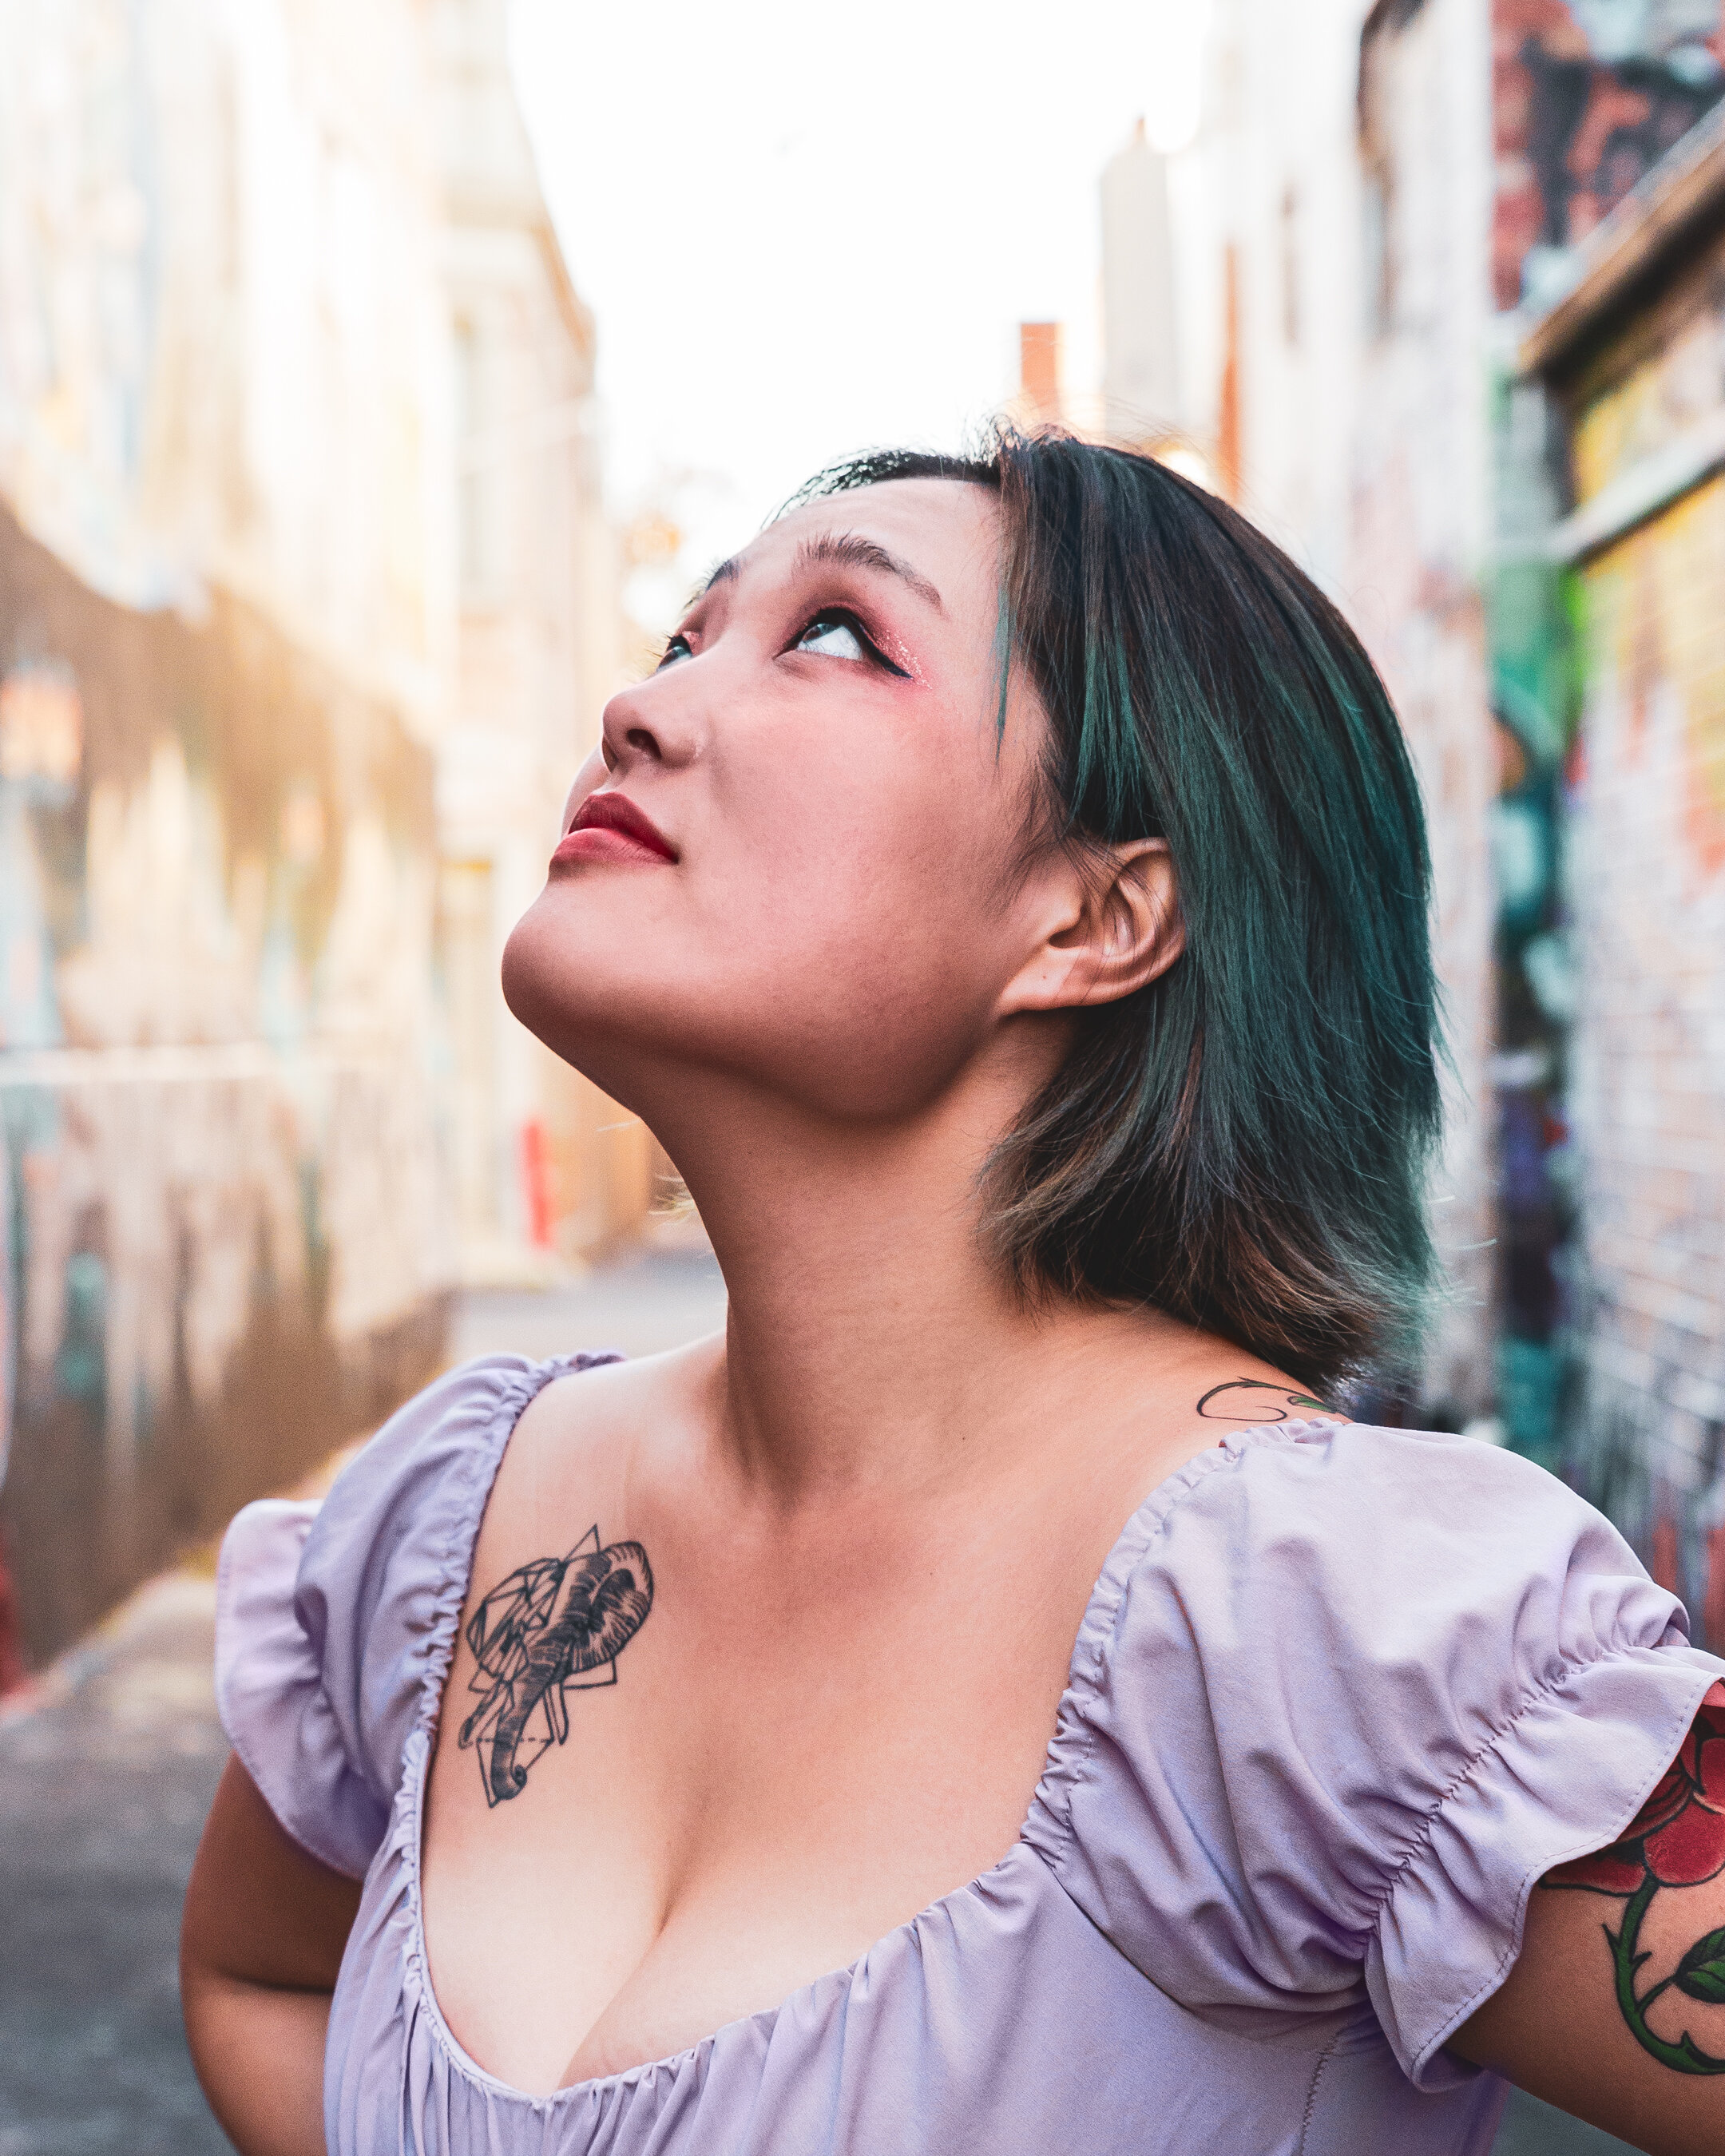
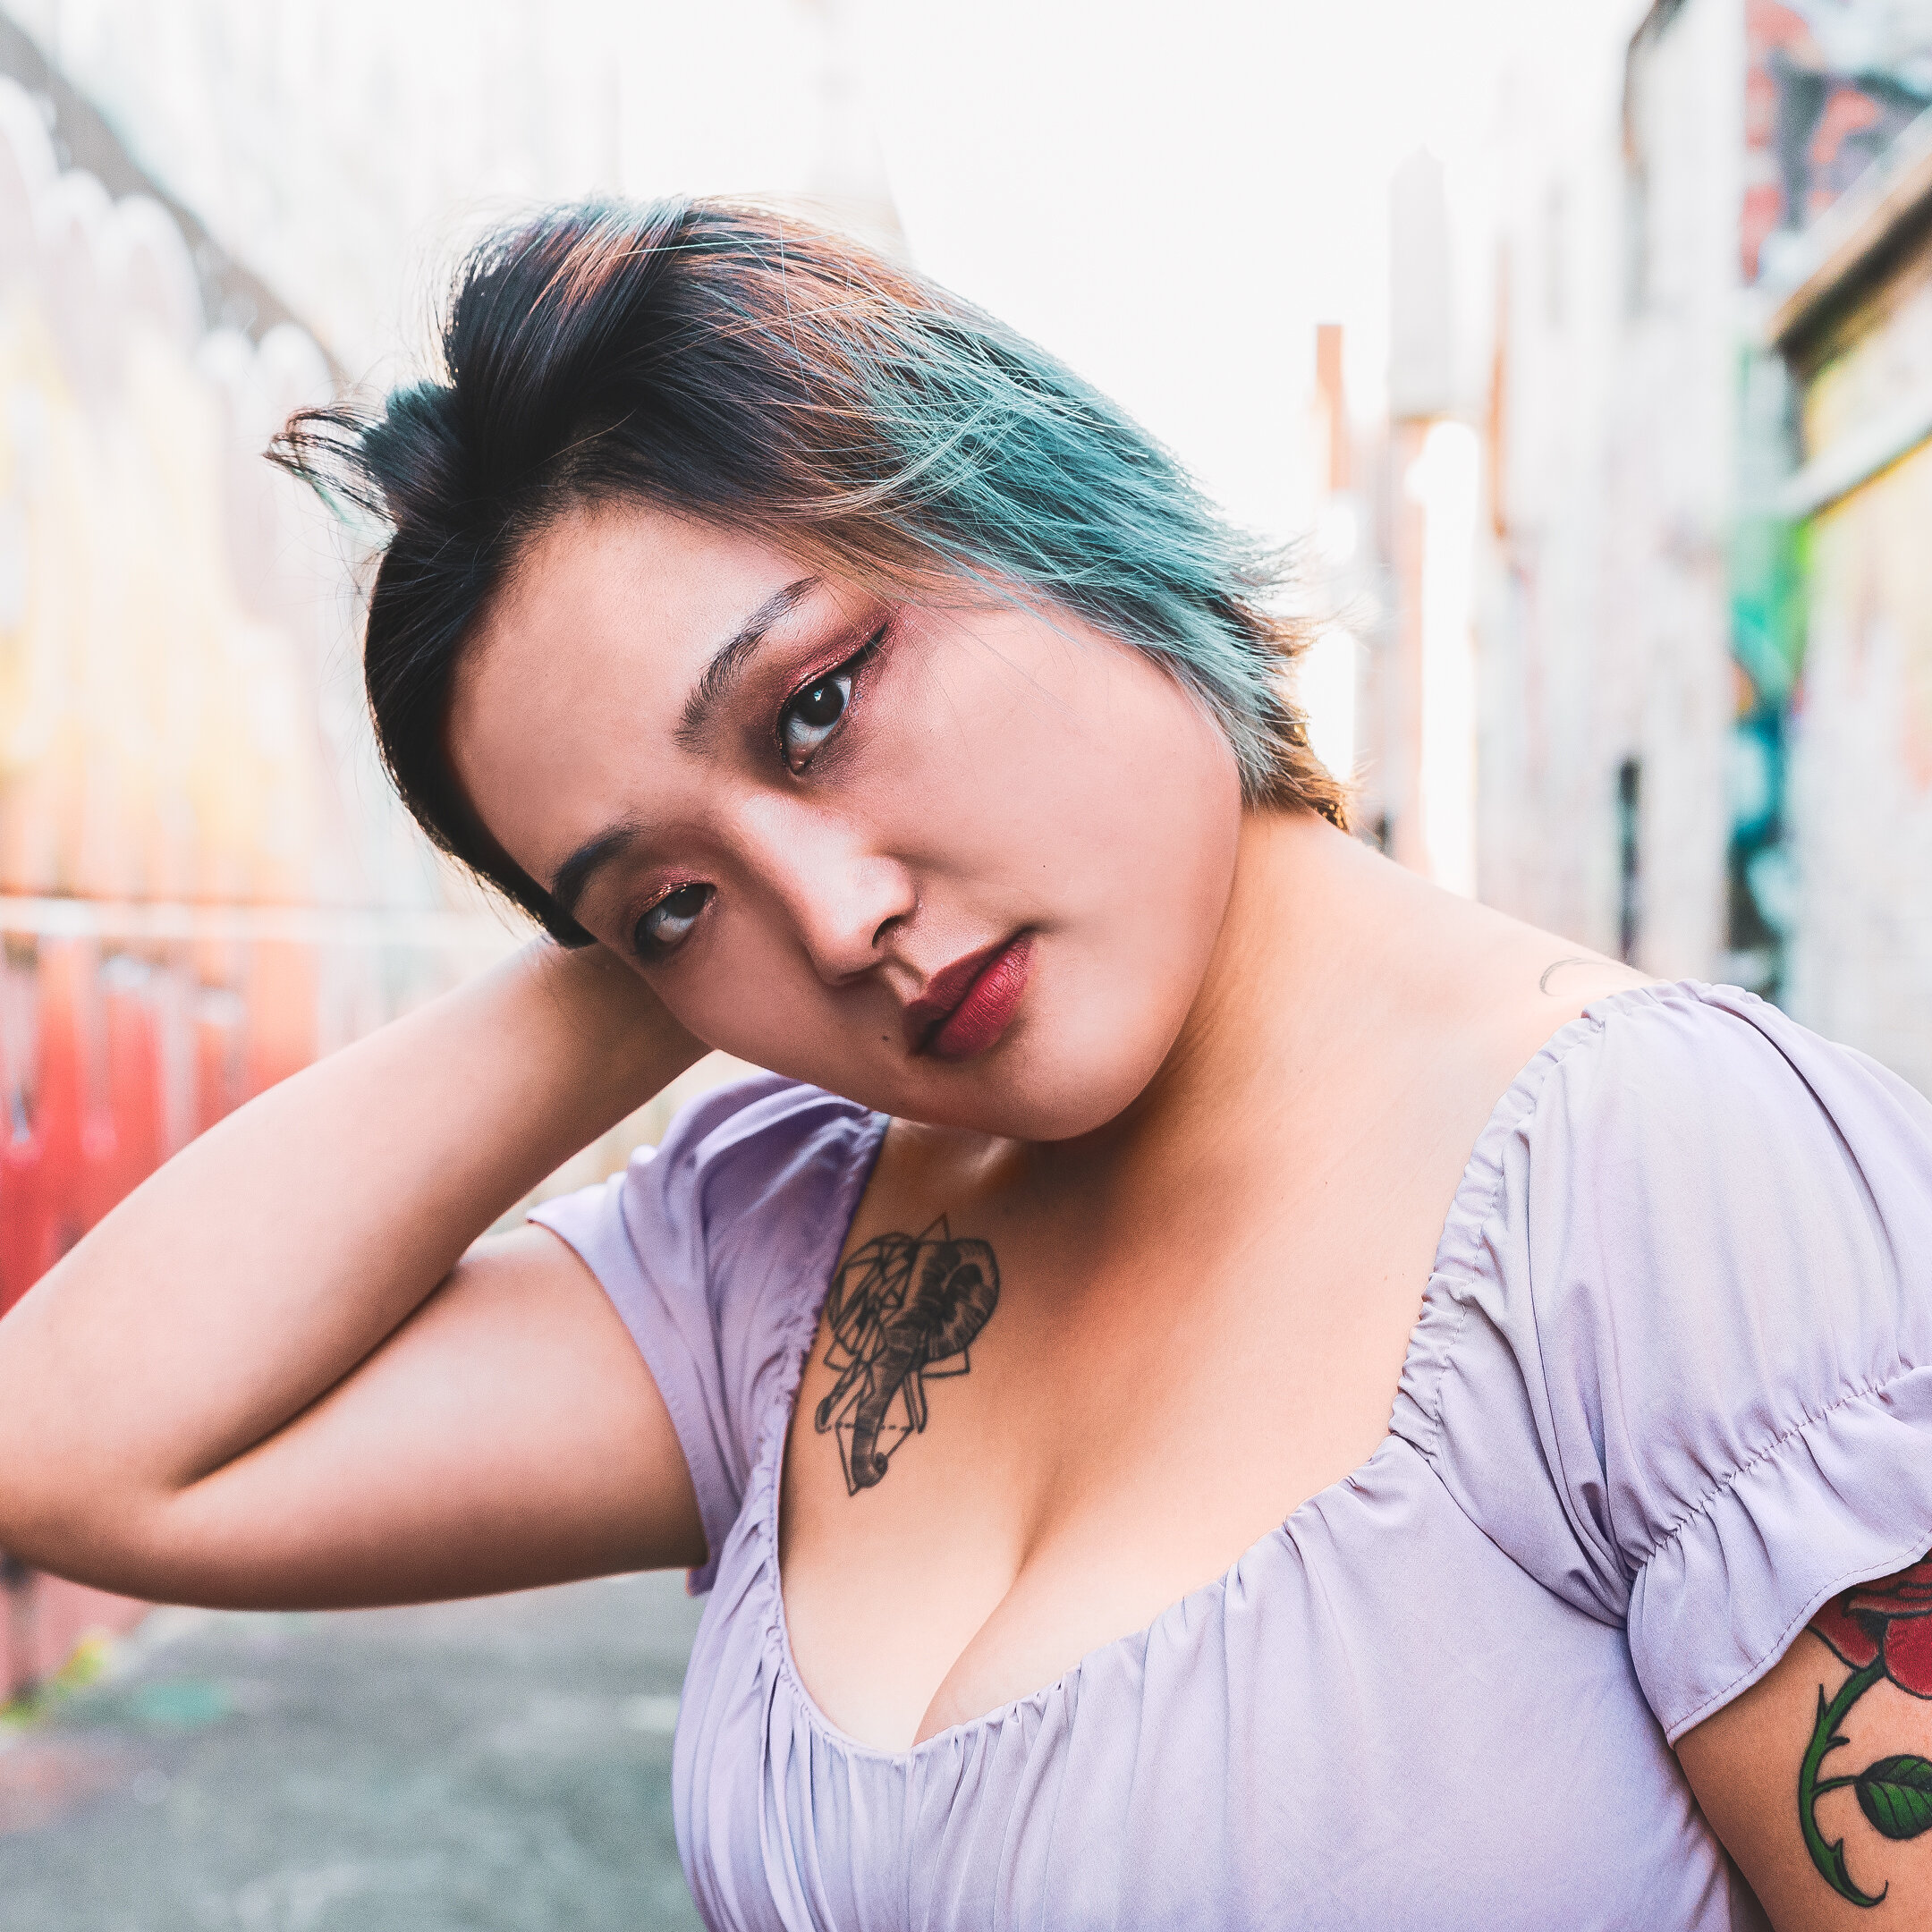
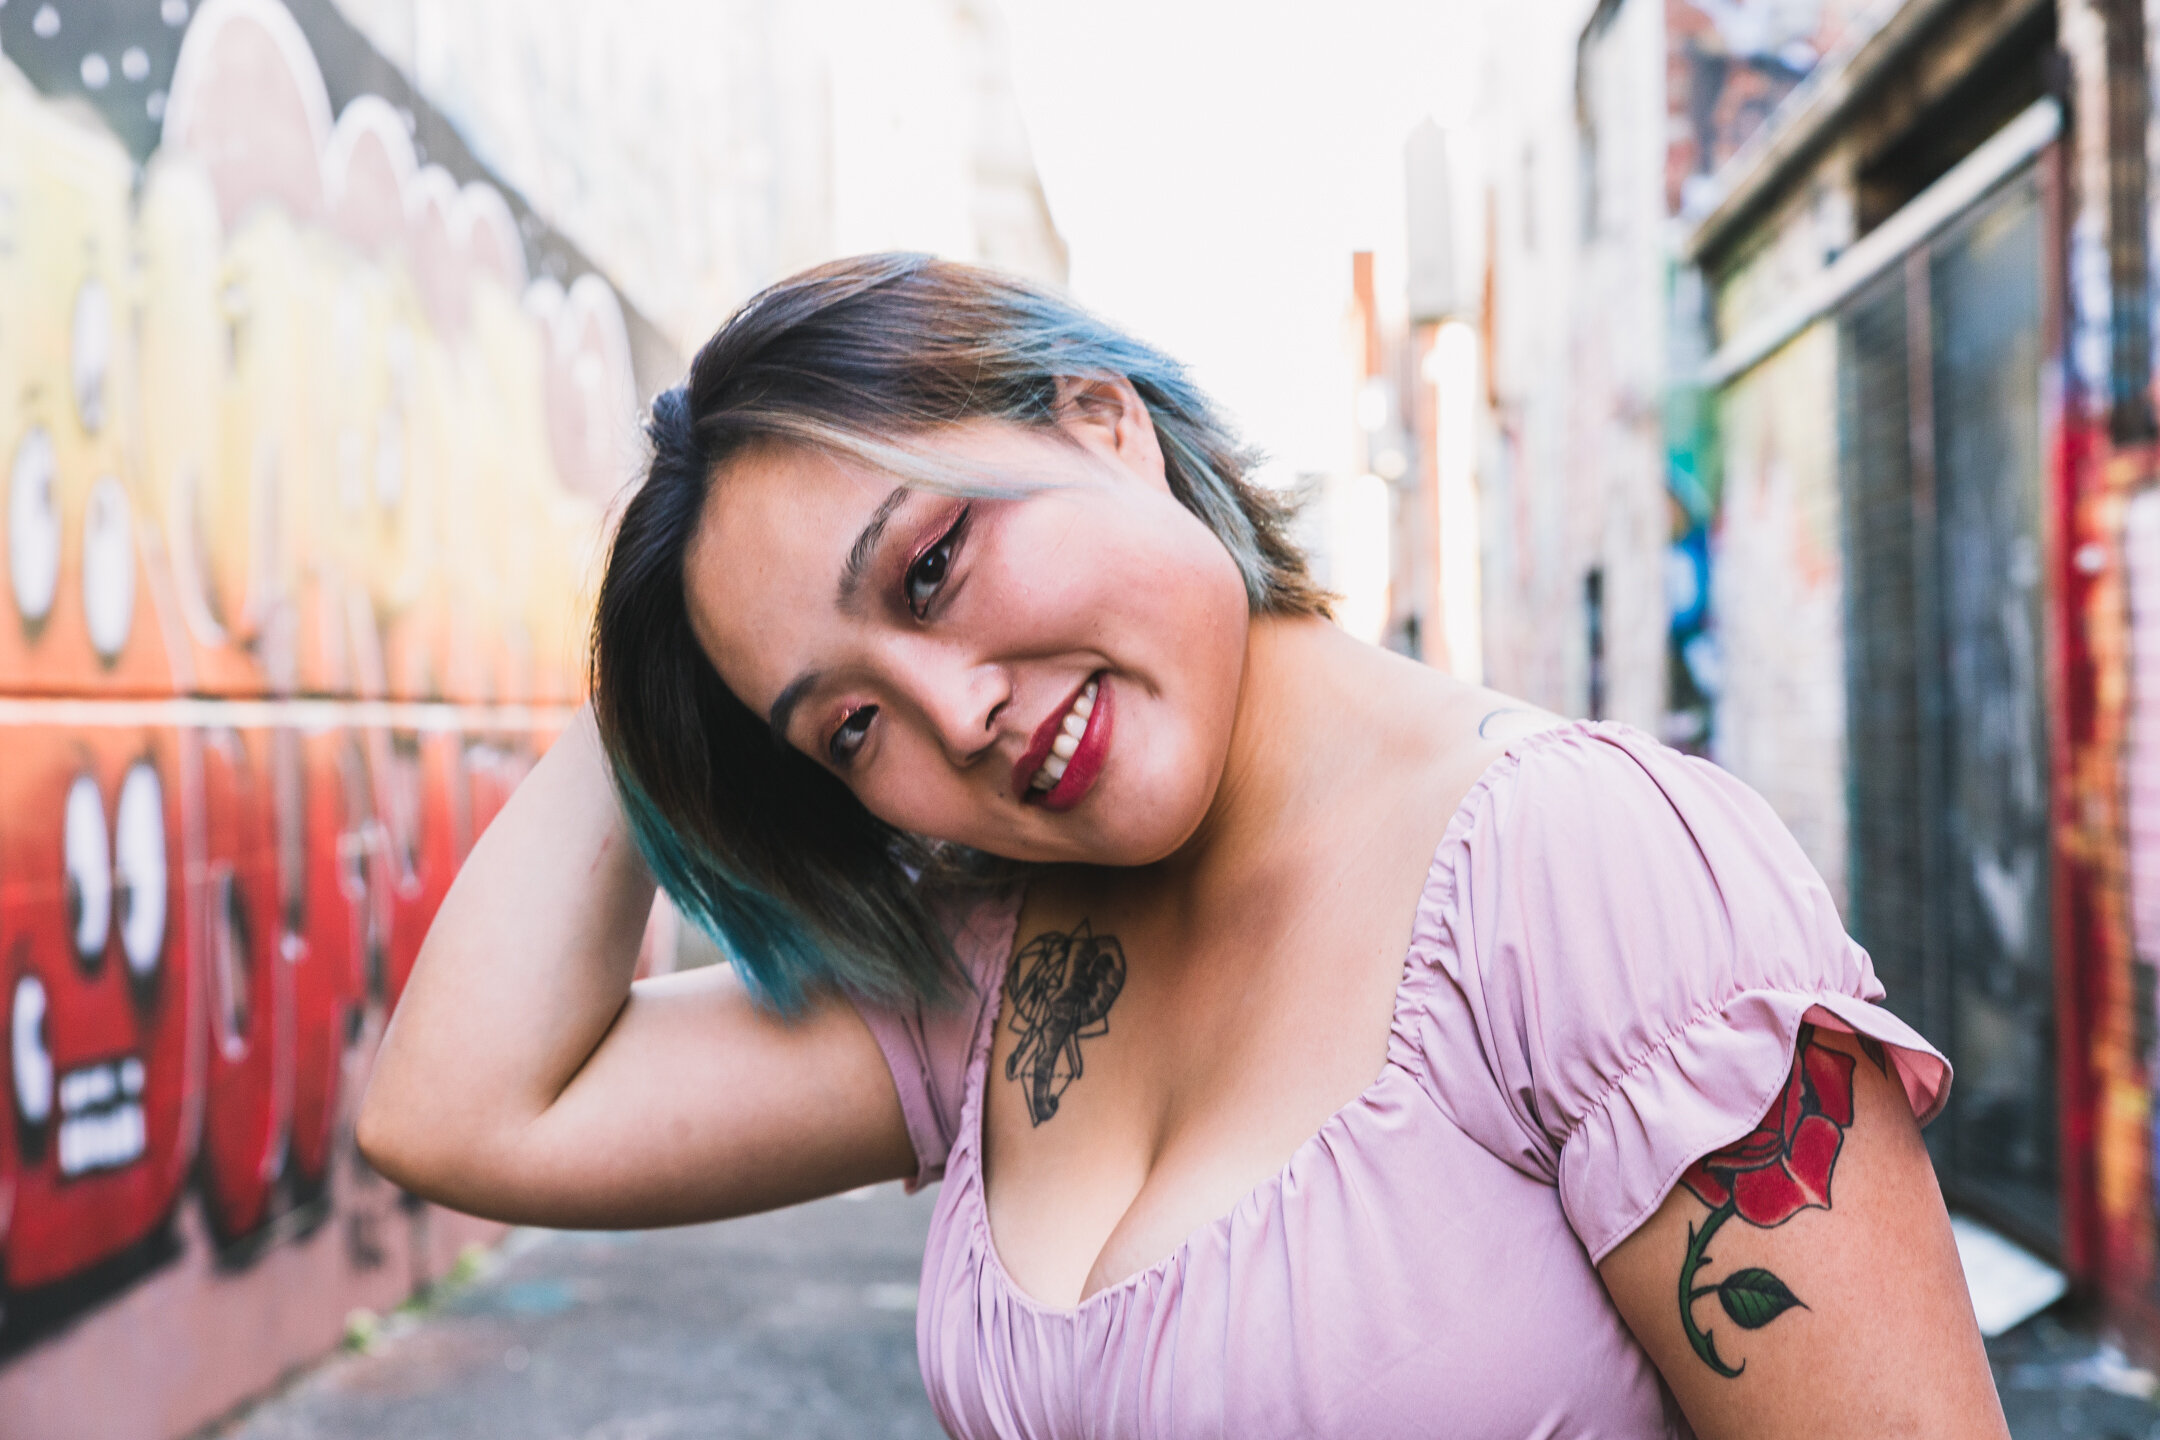
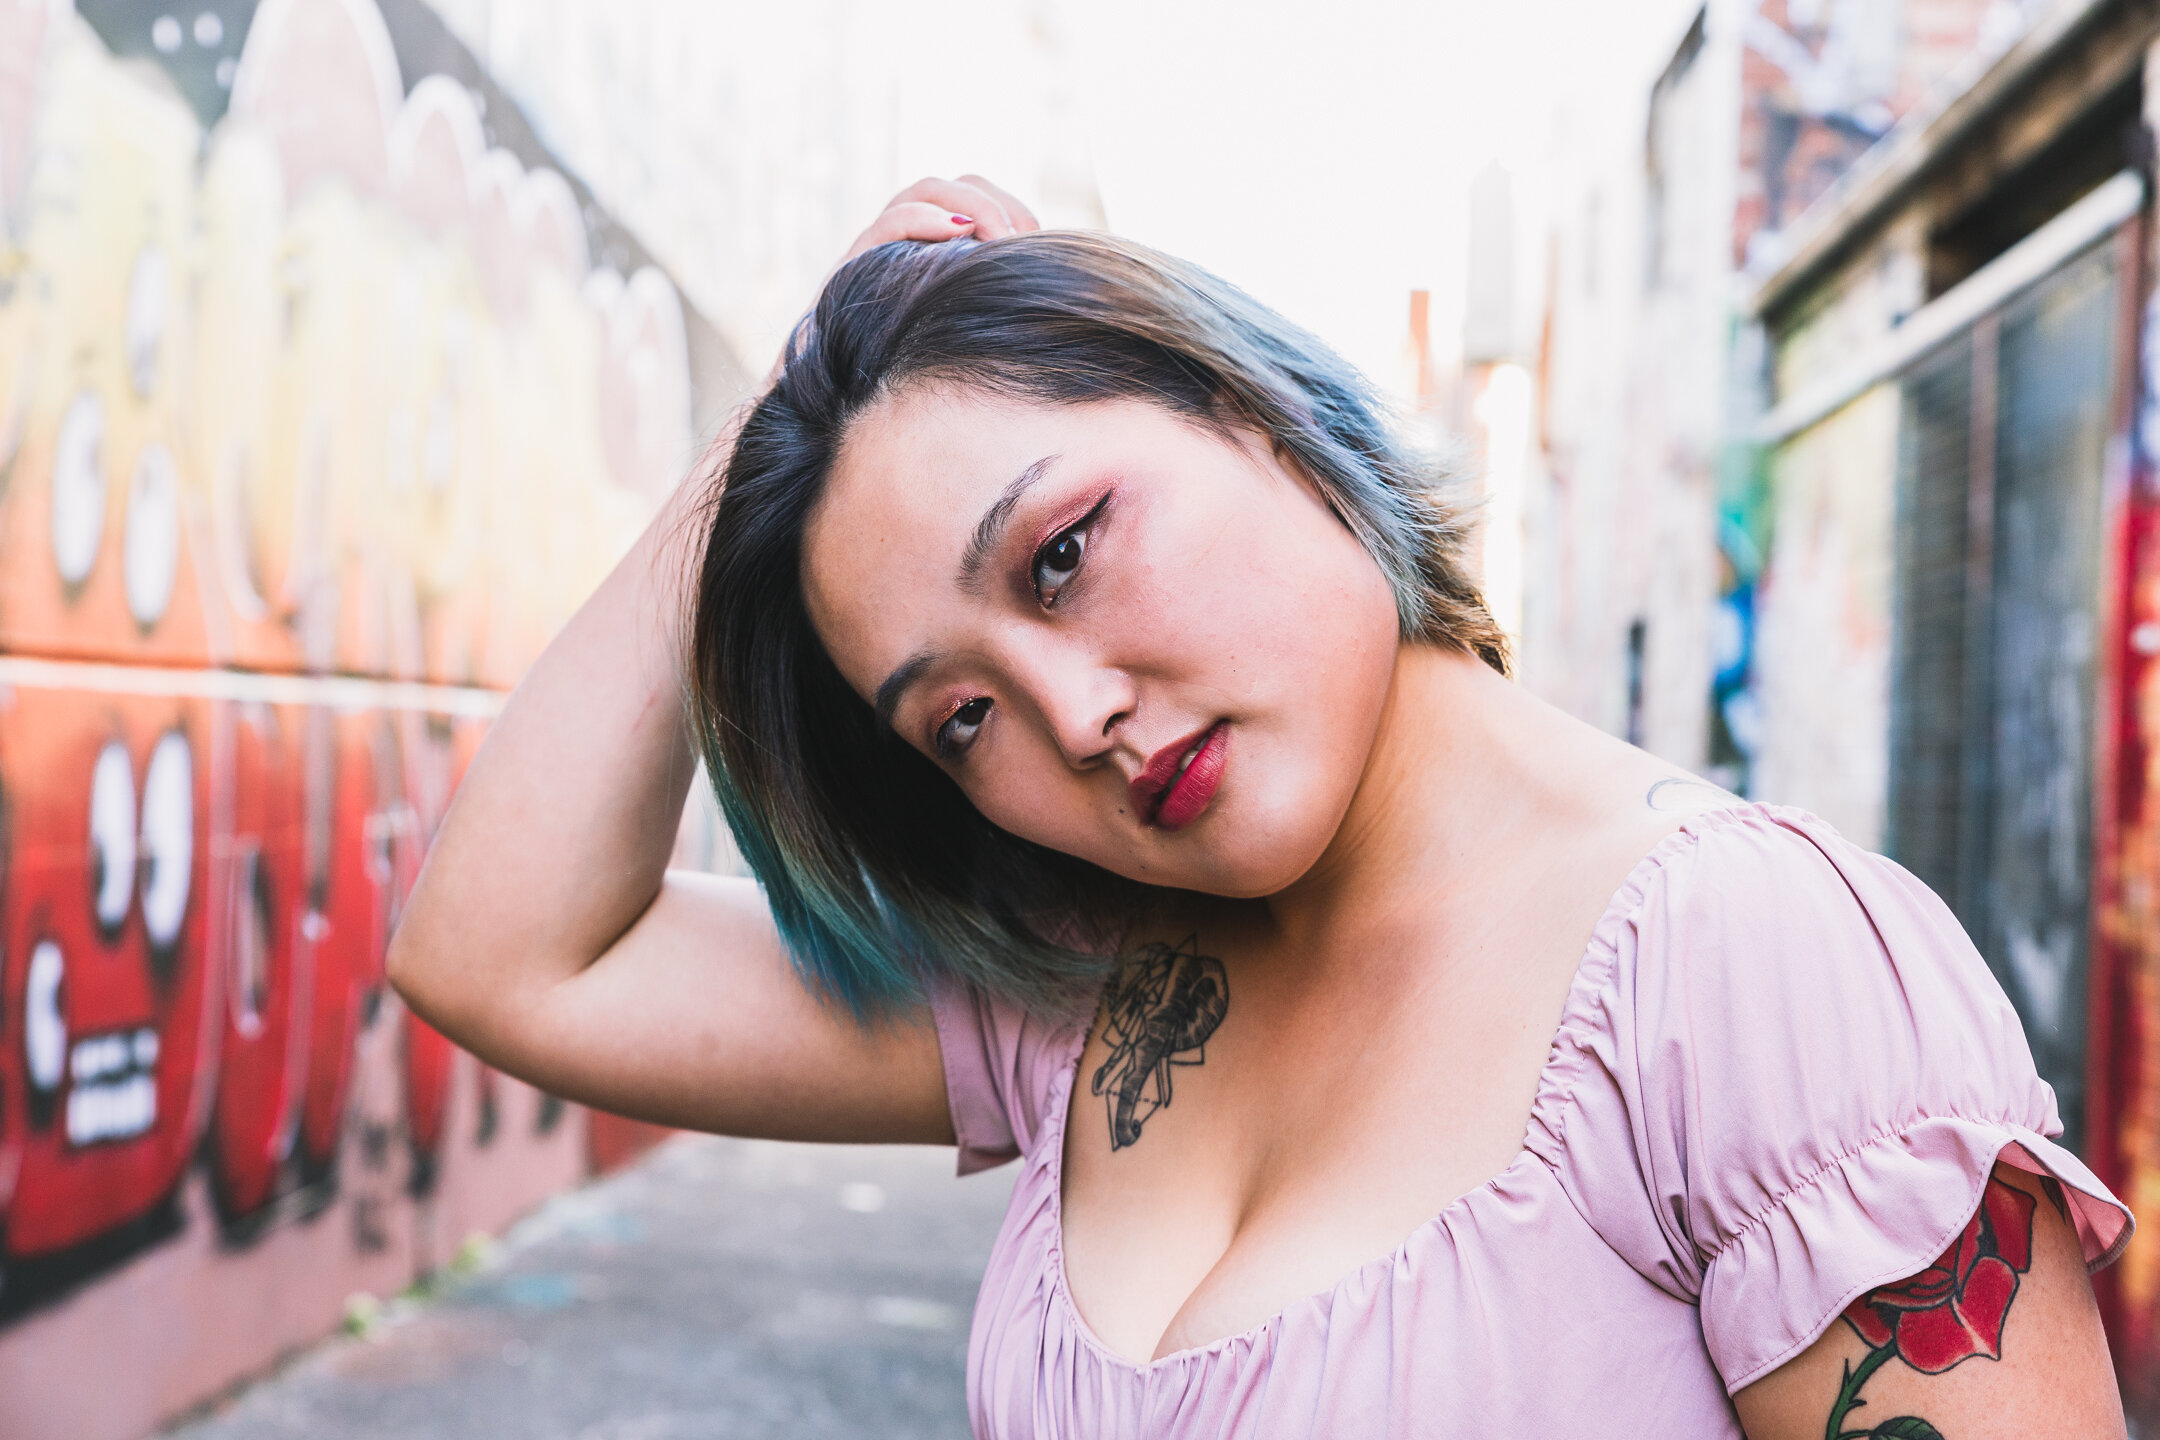
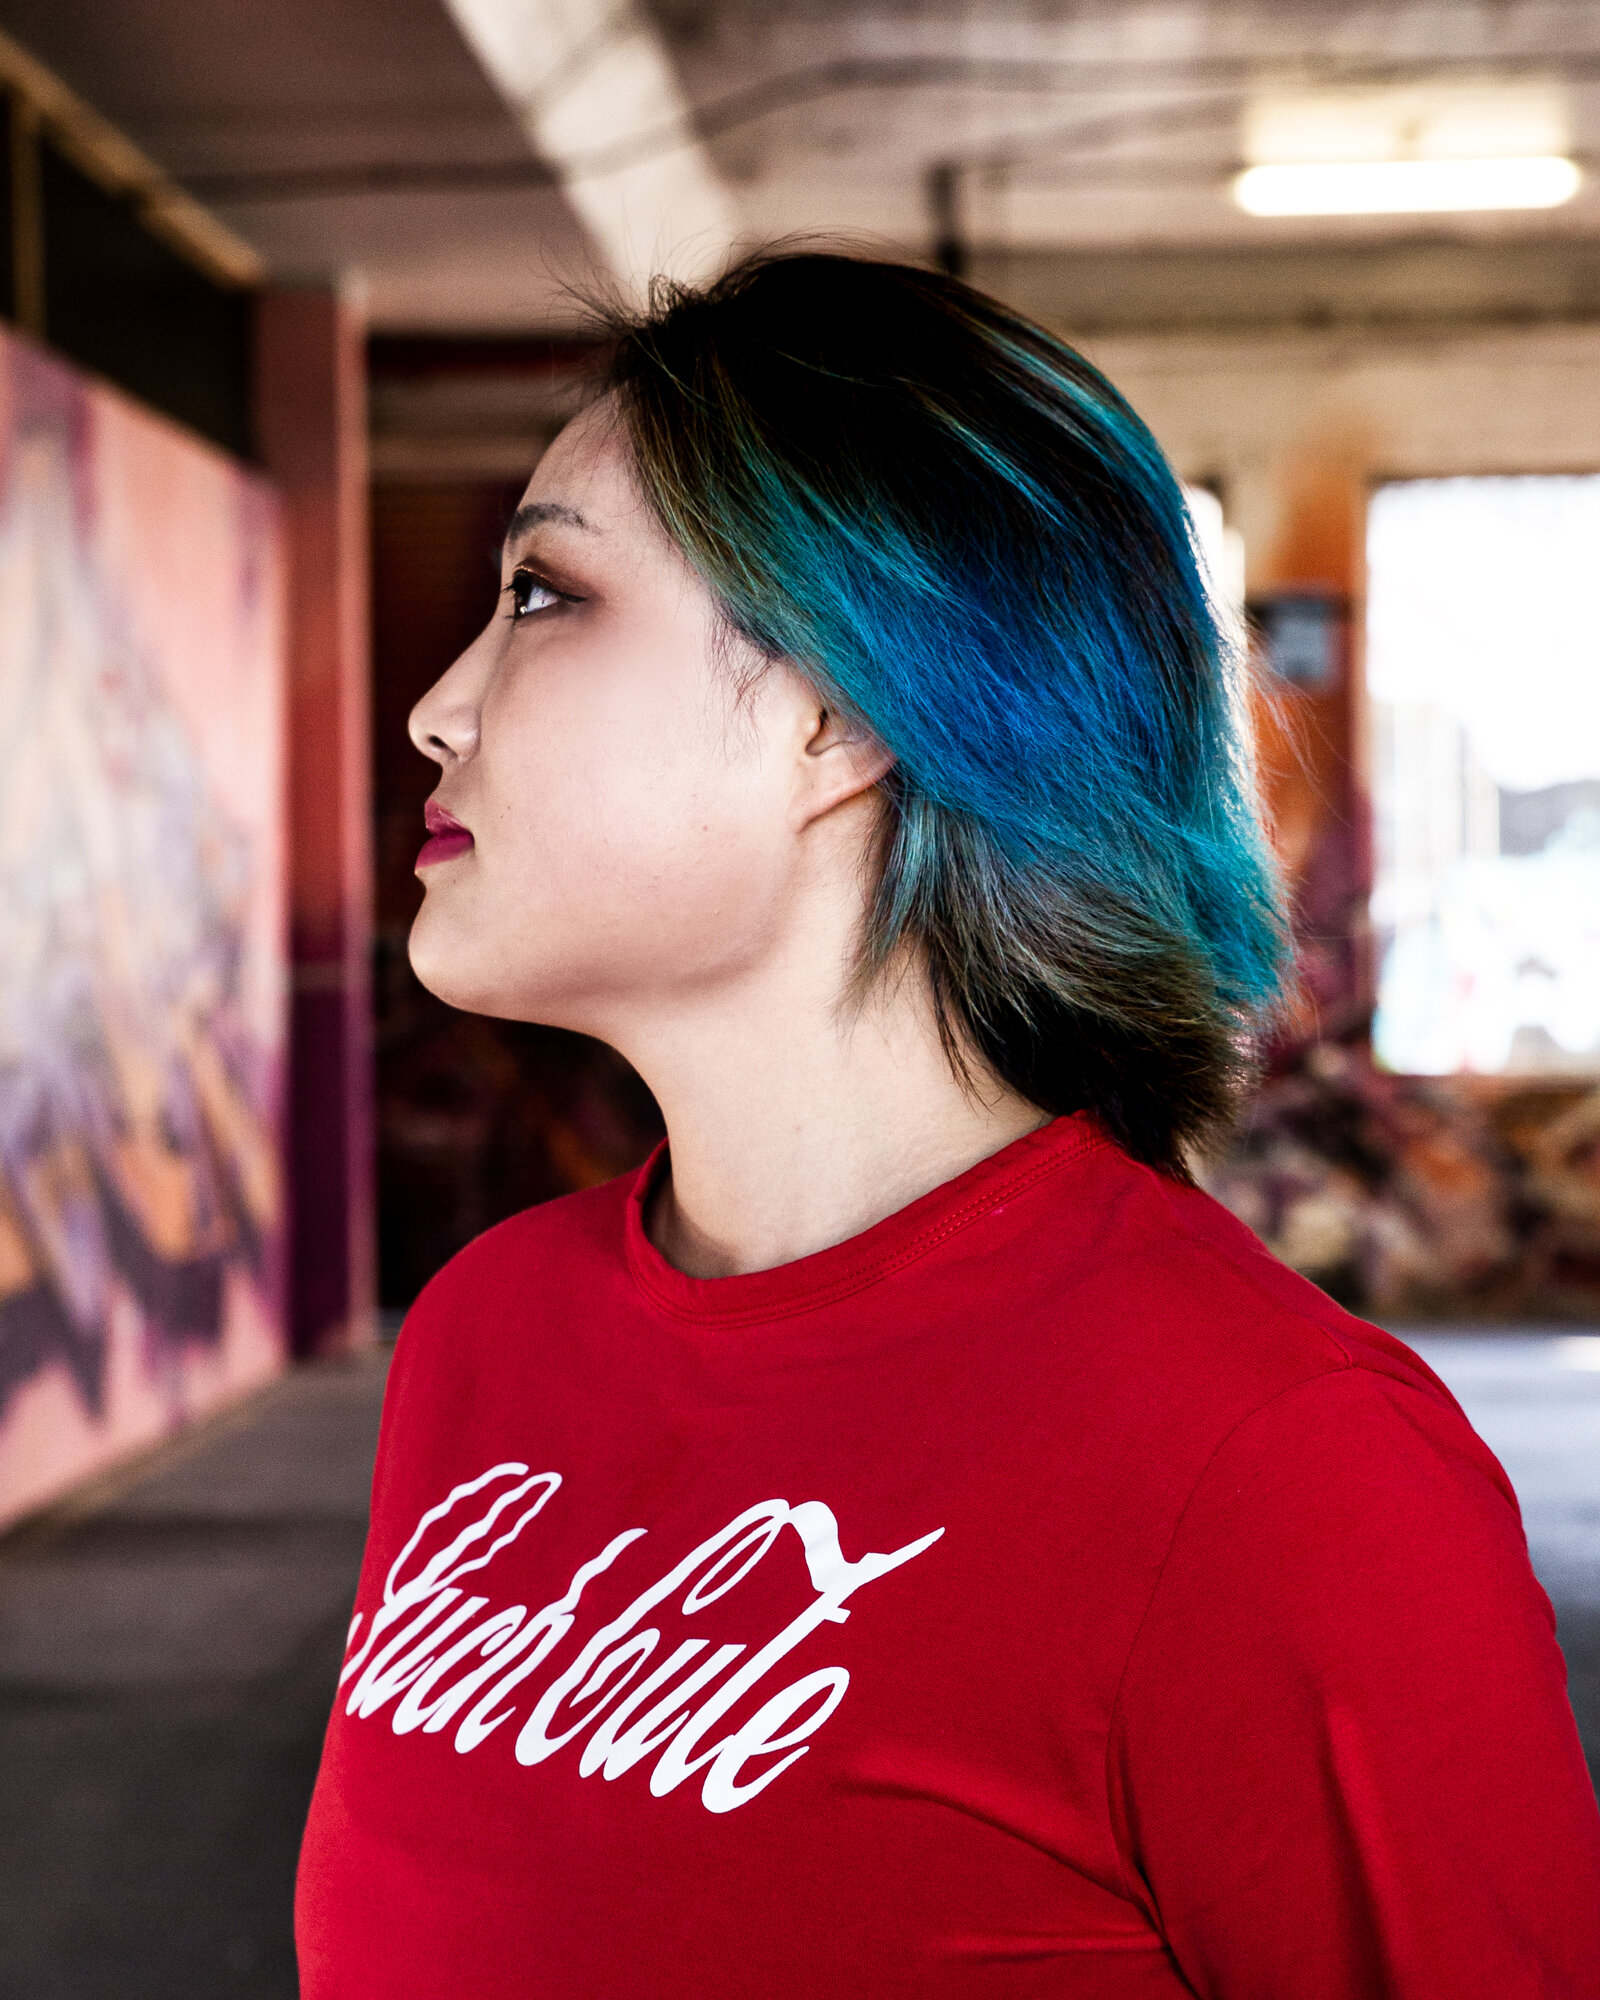
Way back in May the future looked a lot more bright for Melbourne as it does now. Coming out of a long stint of isolation, this was my first self-directed shoot in what felt like a lifetime. I spent a solid month prior photographing indoors, trying my hand with product photography. Despite this, I still felt a bit rusty with regards to shooting human subjects. Unnecessary nerves maybe? That said I picked a location that would be easy to work with, The Fitzroy Mills. It’s a popular with a lot of photoshoots so not the most original location but it offers two big ticks in my books: wide open spaces and minimal background distractions.

PHOTOSHOOT GOAL

A common photography mistake is forgetting how much of a negative impact background distractions can have on your subject. Yes, it’s an obvious factor when you actively think about it, avoiding intersecting lines, a busy background and the balance of symmetry and asymmetry. Being so focused on the subject it’s surprisingly easy to forget about these rules, for me at least. I mean fair enough right? I want to improve this mindset and for the most part I was happy with this approach. Increasing the depth of field, desaturating colour and forcing myself to look beyond the subject before hitting the shutter button.

Yuying_Blog_19.jpg

After warming up on the ground floor with simple portraits, we moved to the rooftop area. I discovered Yuying is actually pretty damn talented with acrobatics / gymnastics and the shoot quickly shifted gears into an exercice in high shutter speed photography. While photographing, Yuying mentioned it’s easy to pull off moves like these. You can be the judge.

EDITING

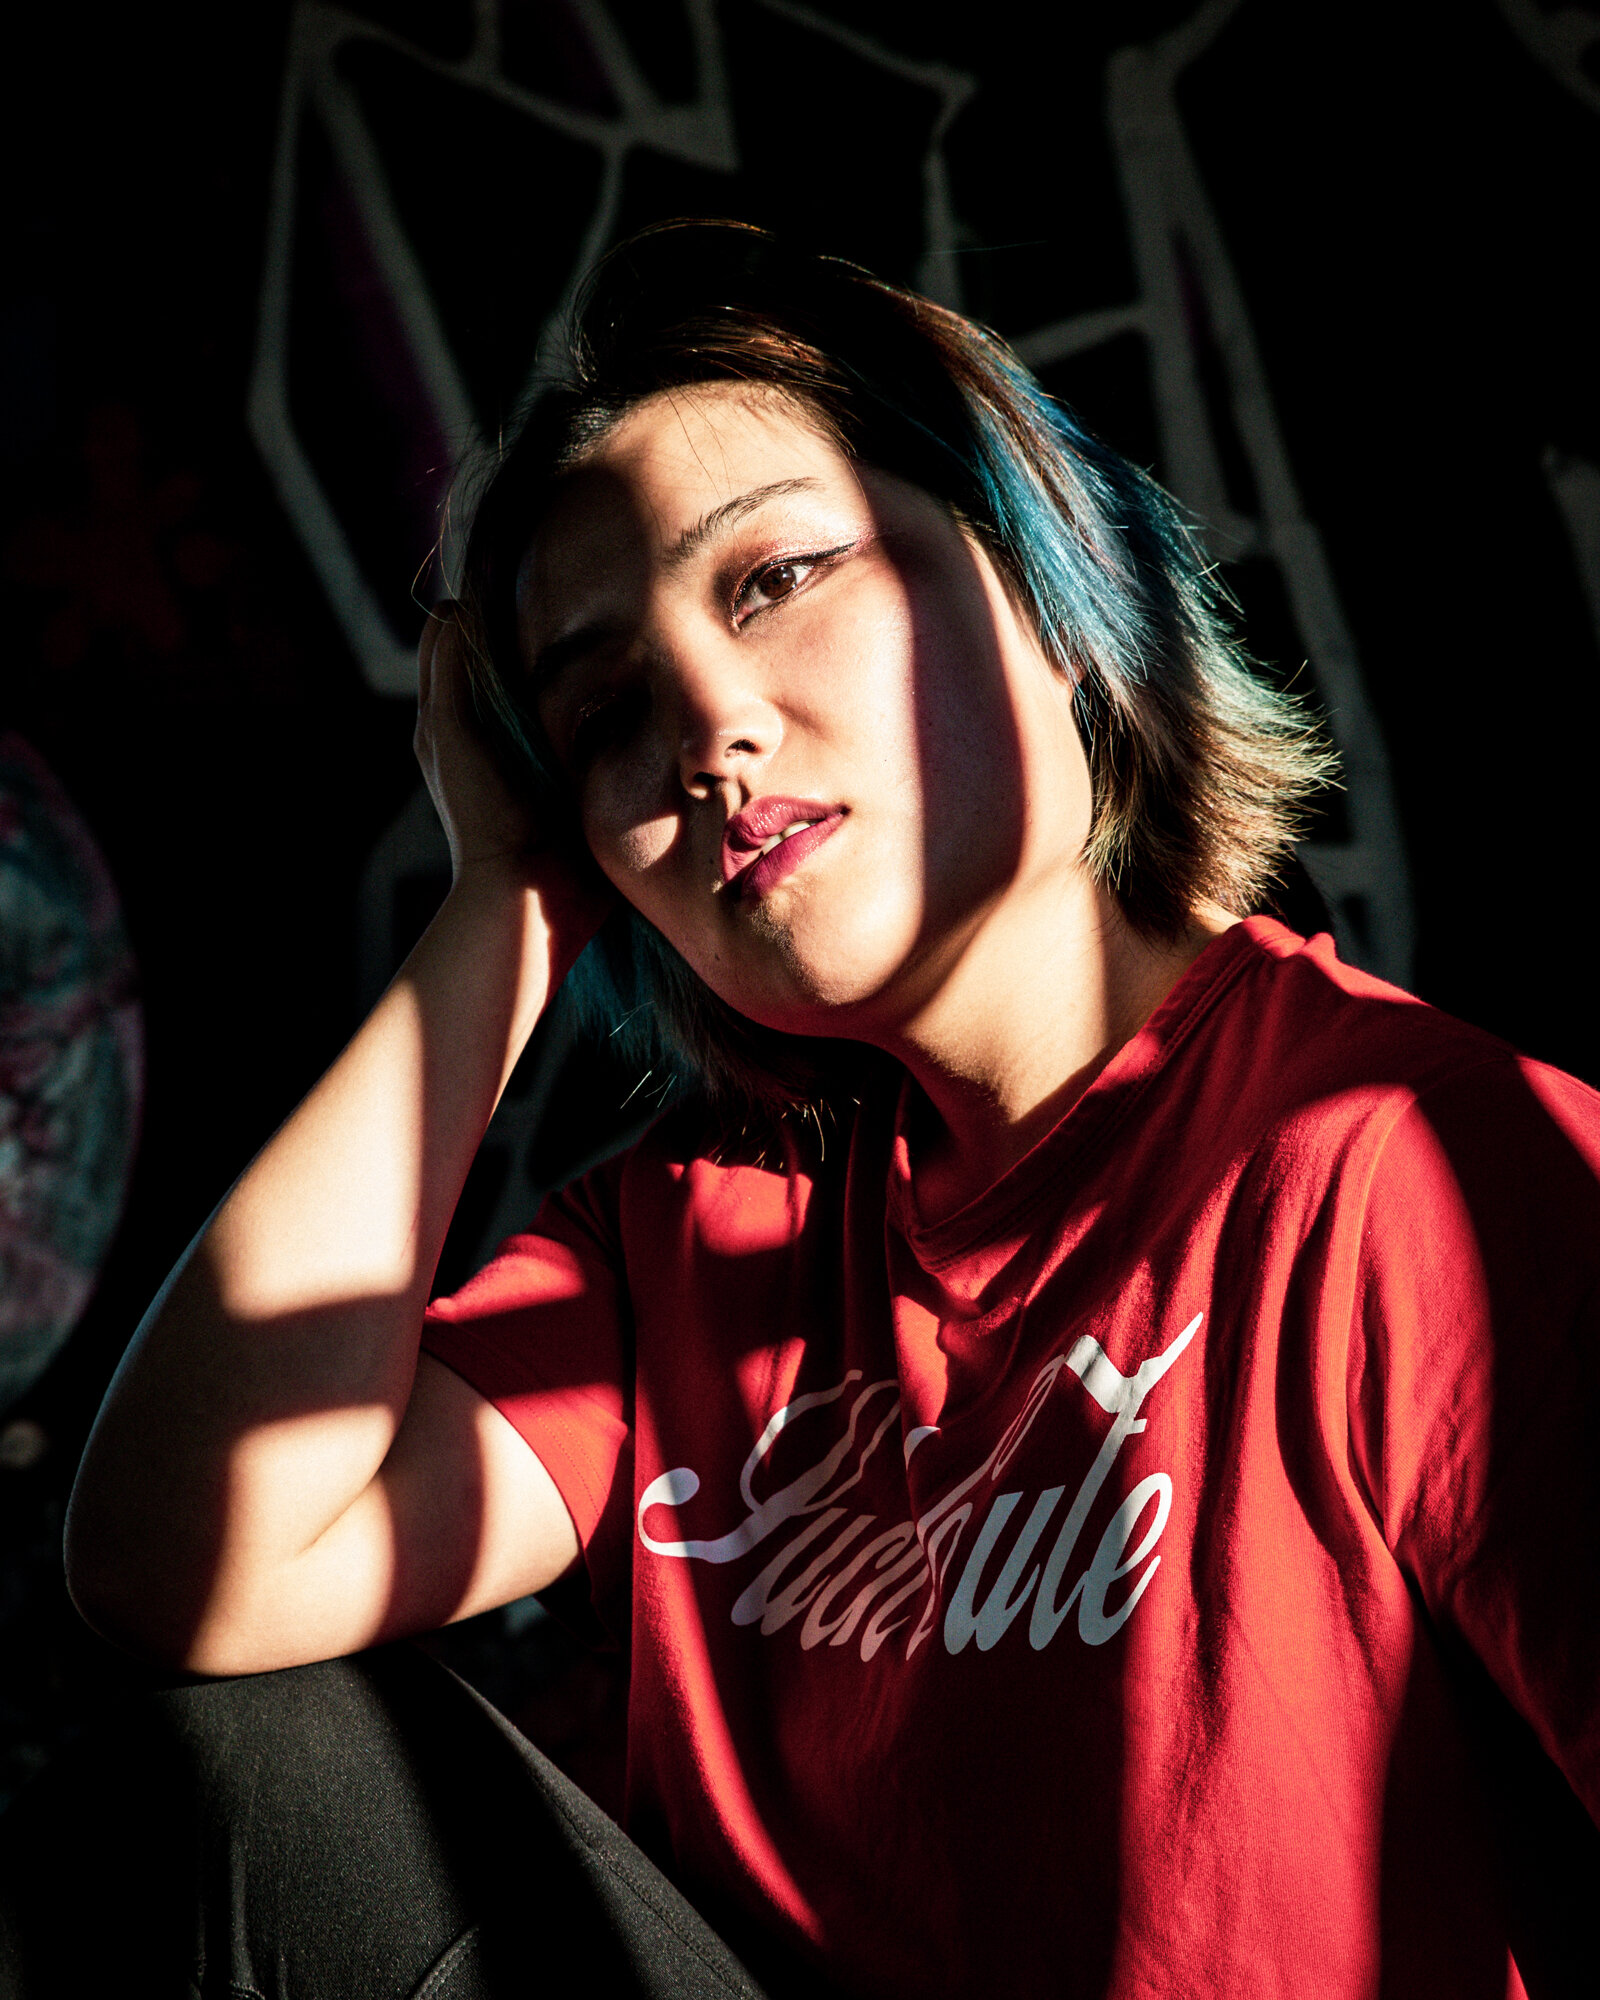
I wanted to retain the warm colour of the sun while enhancing the shadows and highlights. Convey a mood that resonates with the late afternoon sun. I found black and white to be an ideal alternative for images with too much colour contrast of cool and warm or blotchy skin colour. B&W removes these issues while transforming the image, focusing on the striking highlight and shadow contrasts.

Victoria - Dusting Off The Photoshop Cobwebs

When you have that desire to do a photoshoot, what’s the inspiration that started it all?

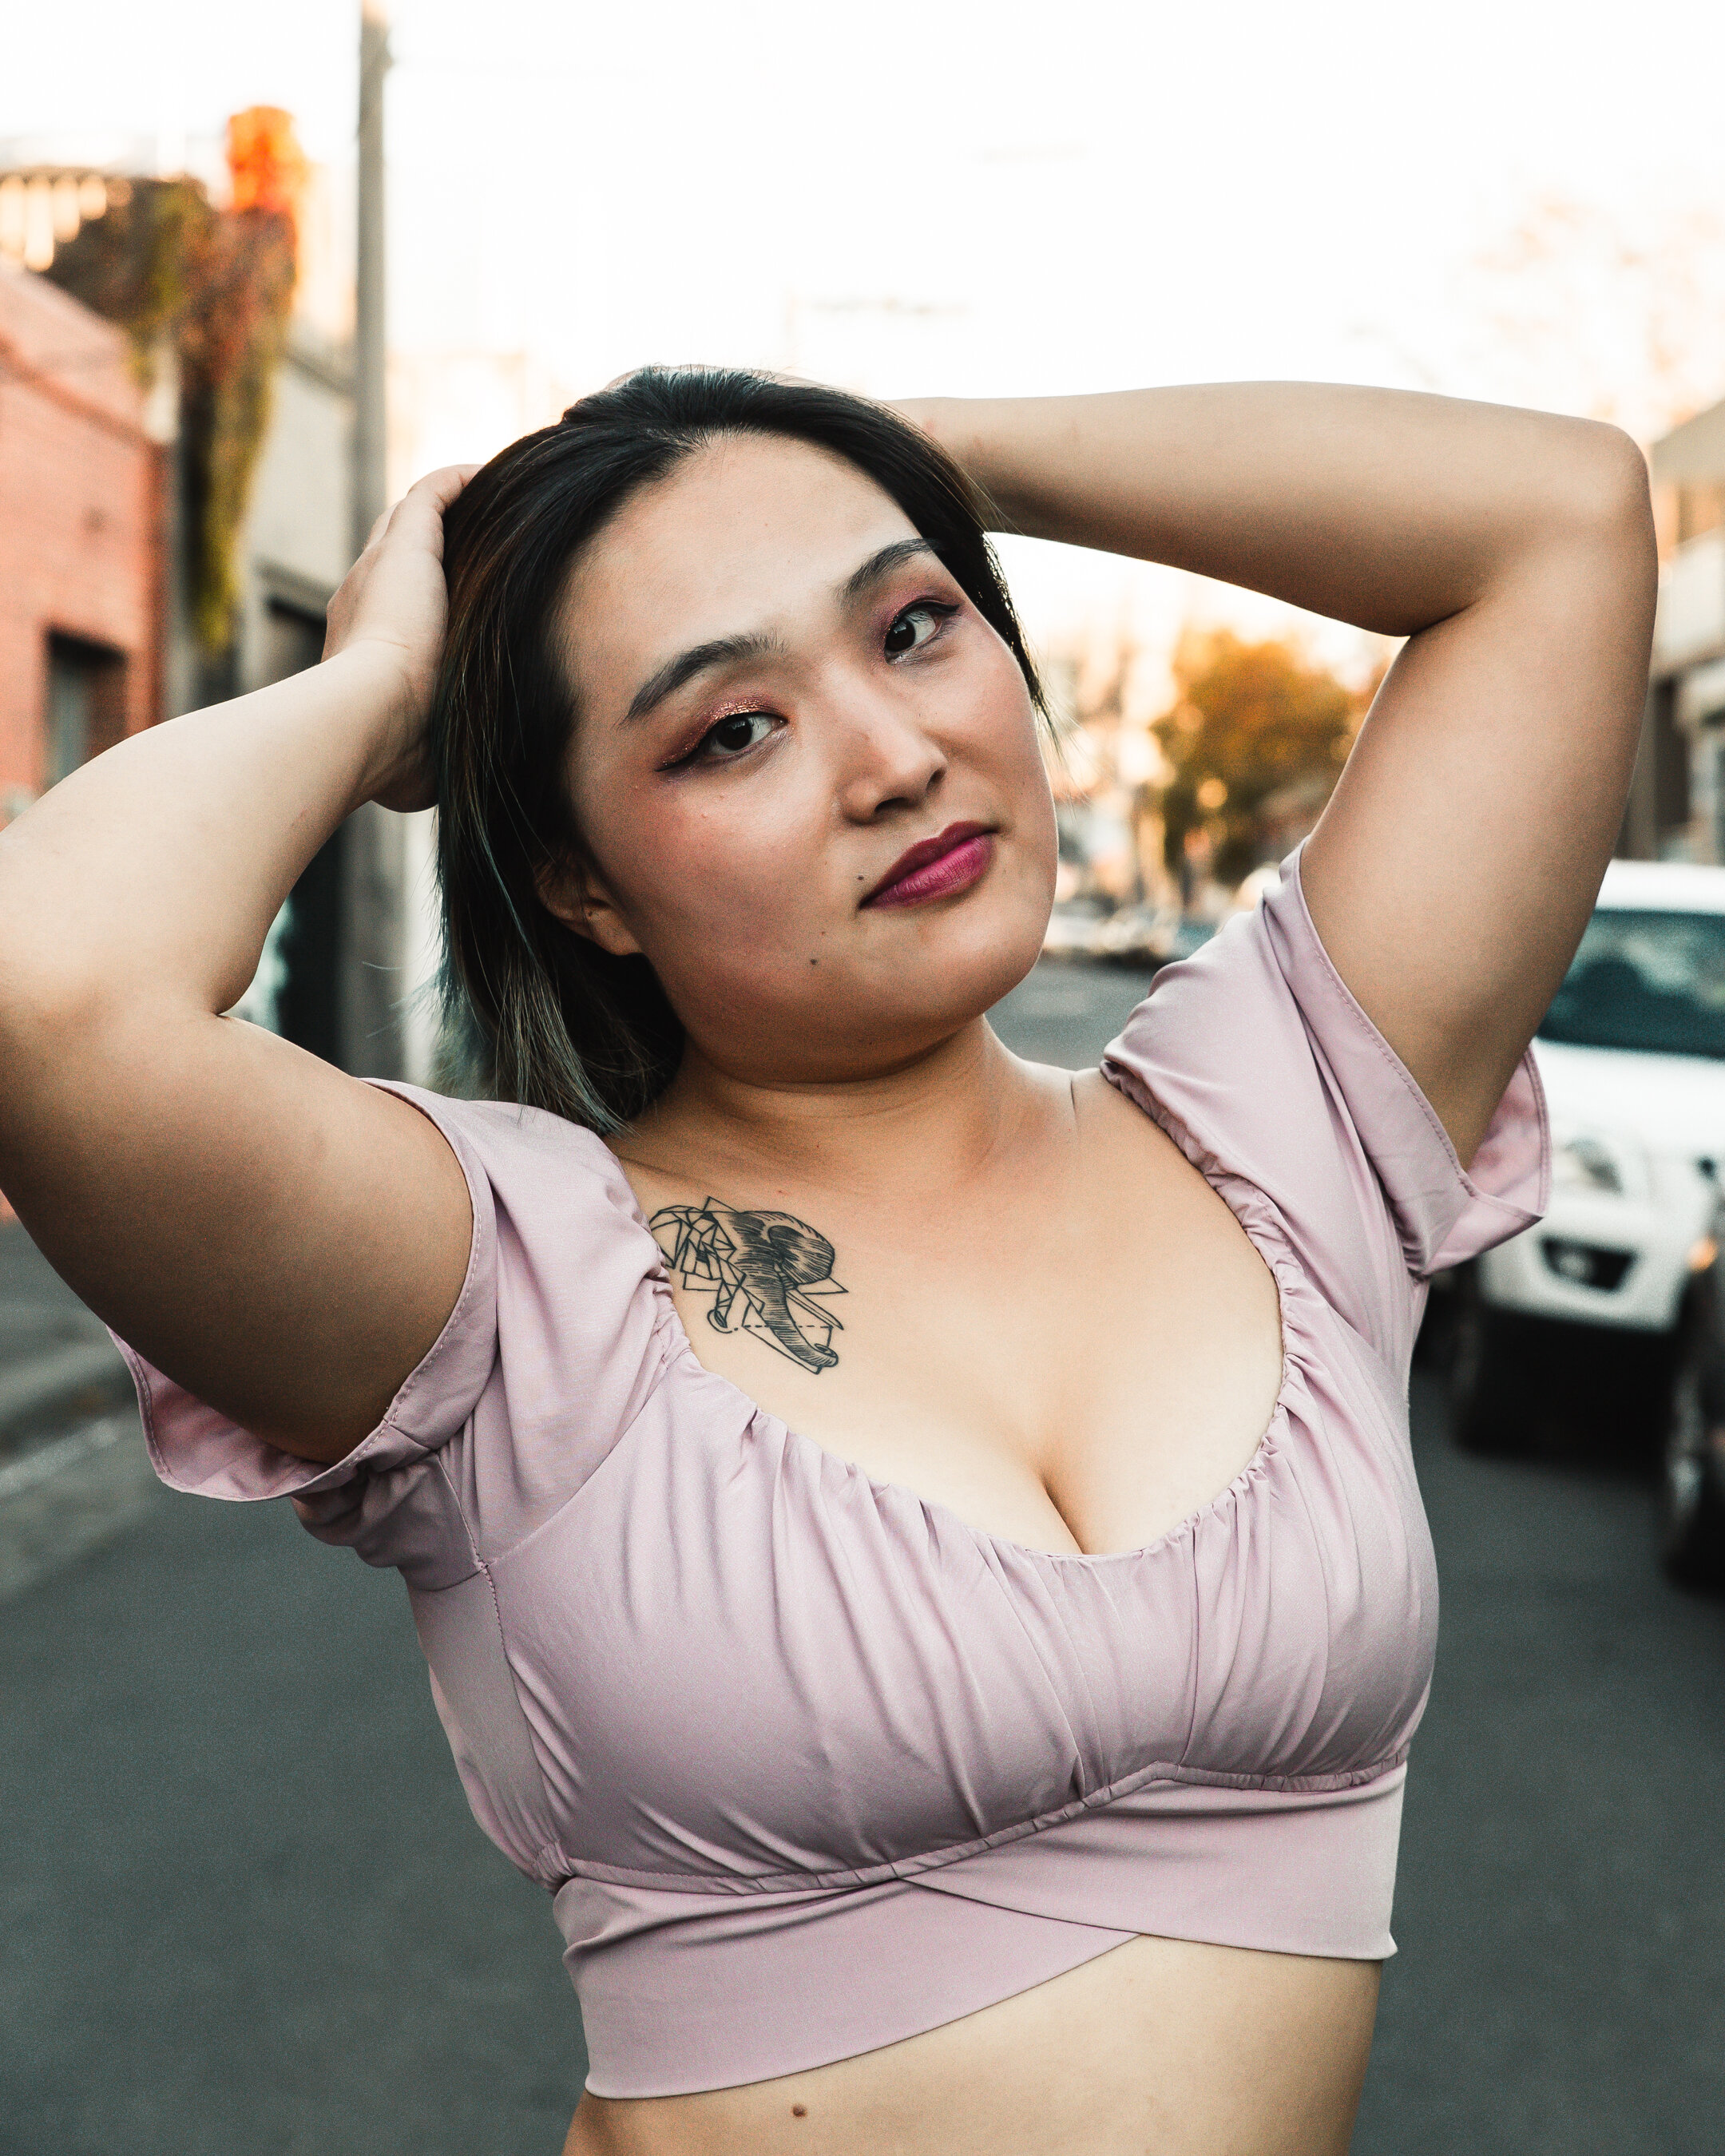
A location, lifestyle, or maybe a just a single colour? As a photographer I sometimes feel overwhelmed with ideas, and it’s difficult to nail down that concept that will begin the creative process. For this shoot, I wanted to expand my Photoshop knowledge. Of course initially there were a lot of ideas swimming around my head. On top of all that, this was the first photoshoot I had done in months so dusting off those ‘creative cobwebs’ so to speak added to my overall creative goal.

IMG_8011-Edit.jpg

My Goal: Work more efficiently with directing the model as well as editing techniques in Photoshop, as I often find myself going back to the same editing tools. This time around I wanted to jump outside of my comfort zone and learn new tools I’ve been too unsure to use in the past. Specifically with regards to colour correction and adjustments in the highlights, shadows and midtones.

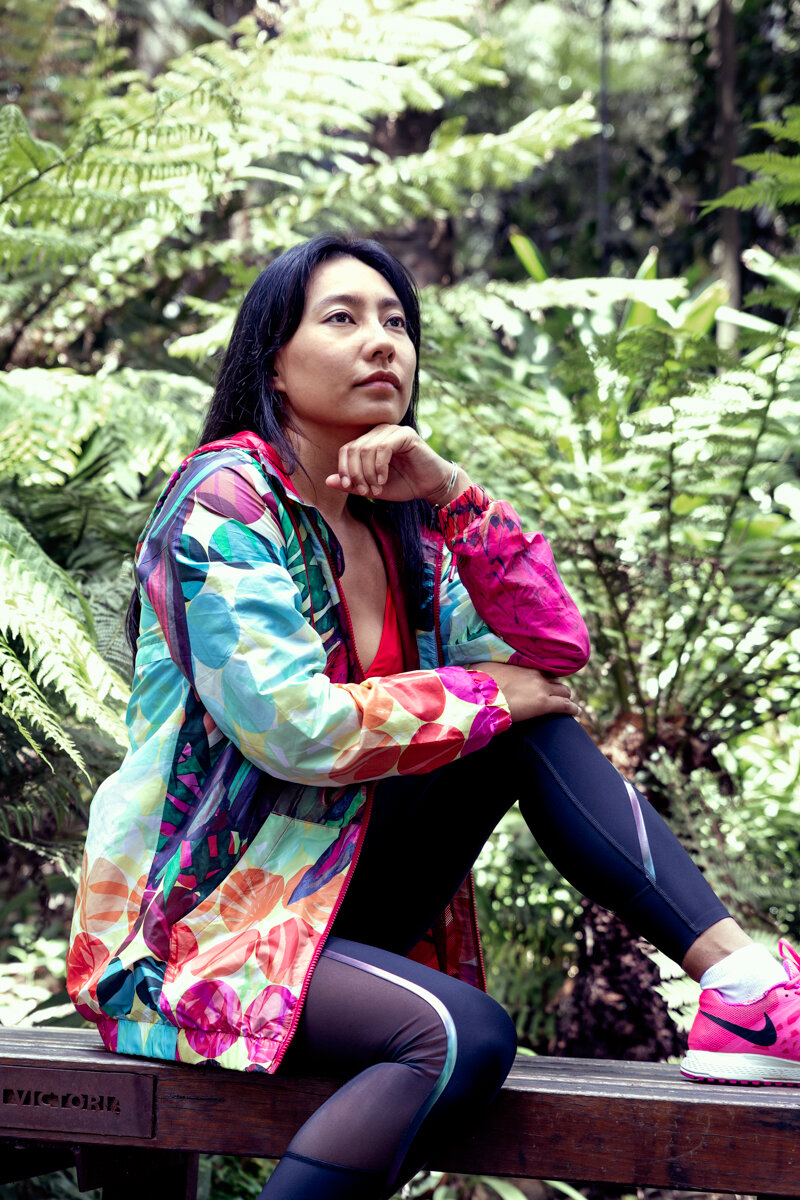
Approaching photoshoot I wanted to keep things simple. Utilizing visual lines for the single point perspective at the Shrine of Remembrance, and the vibrant colours at the Botanical Gardens. Keep the focus of the shoot down to a handful of guidelines so compositing the images in the camera doesn’t get complicated.

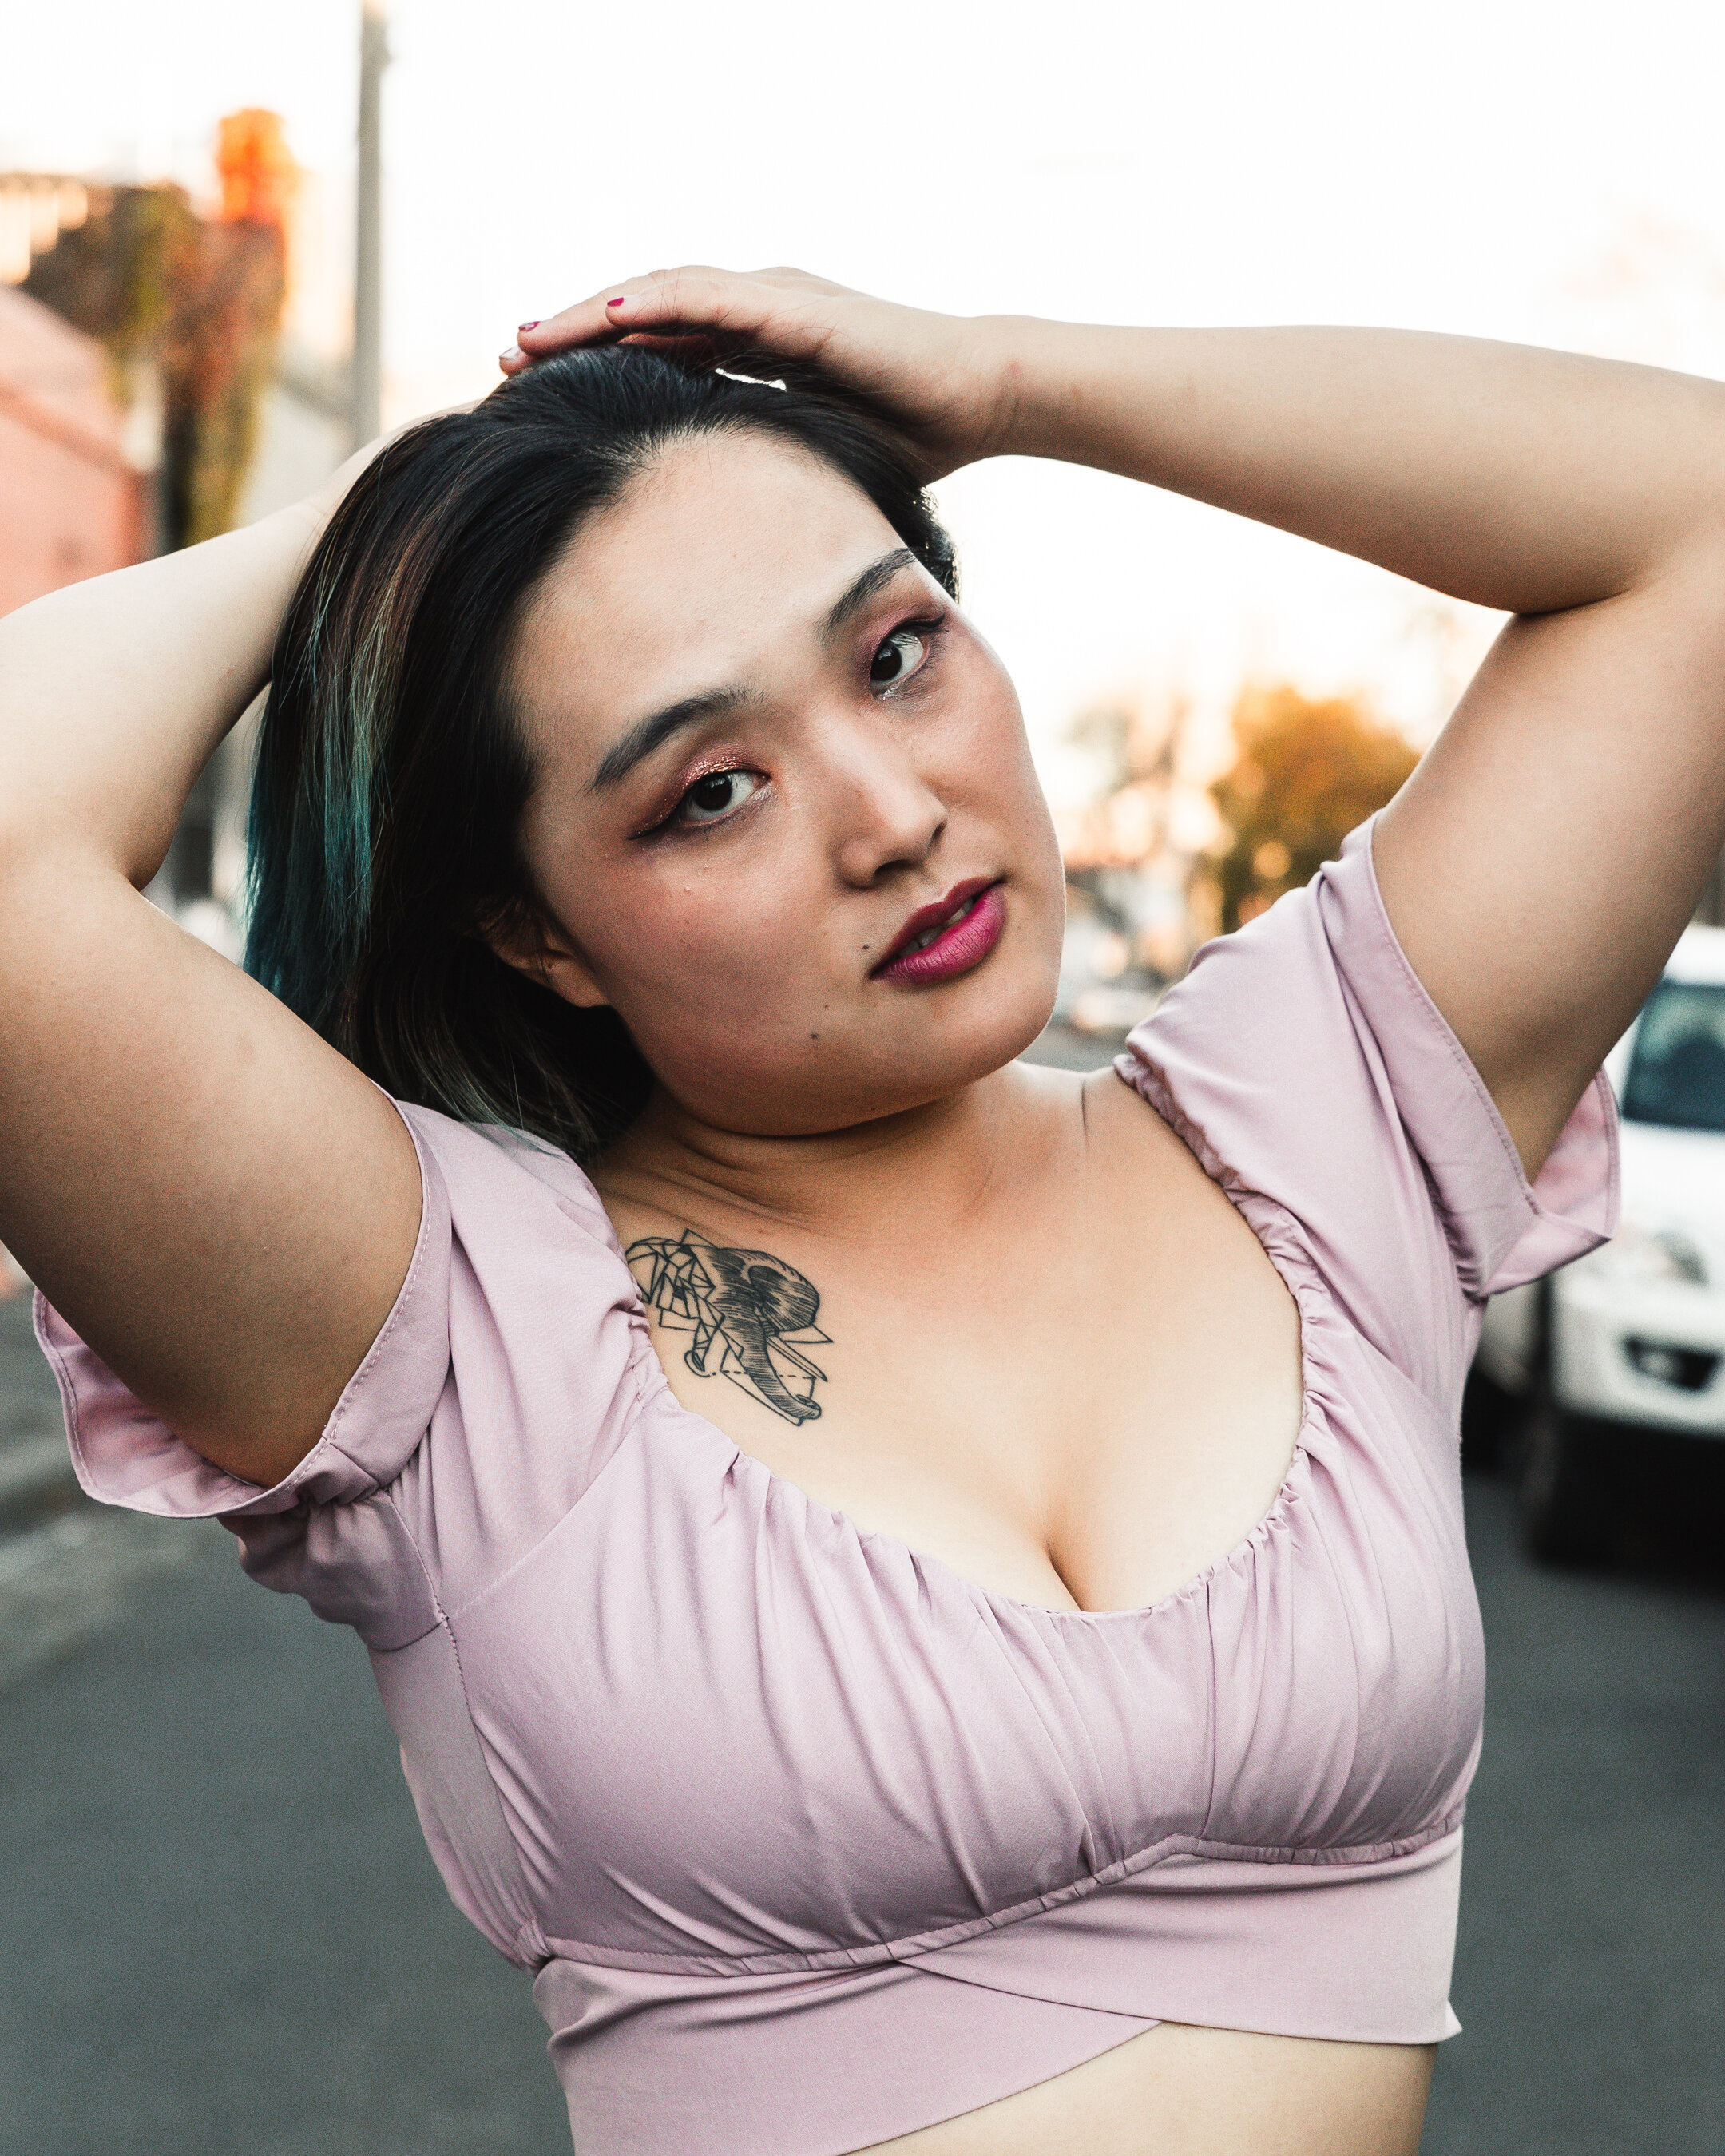
IMG_8024-Edit.jpg

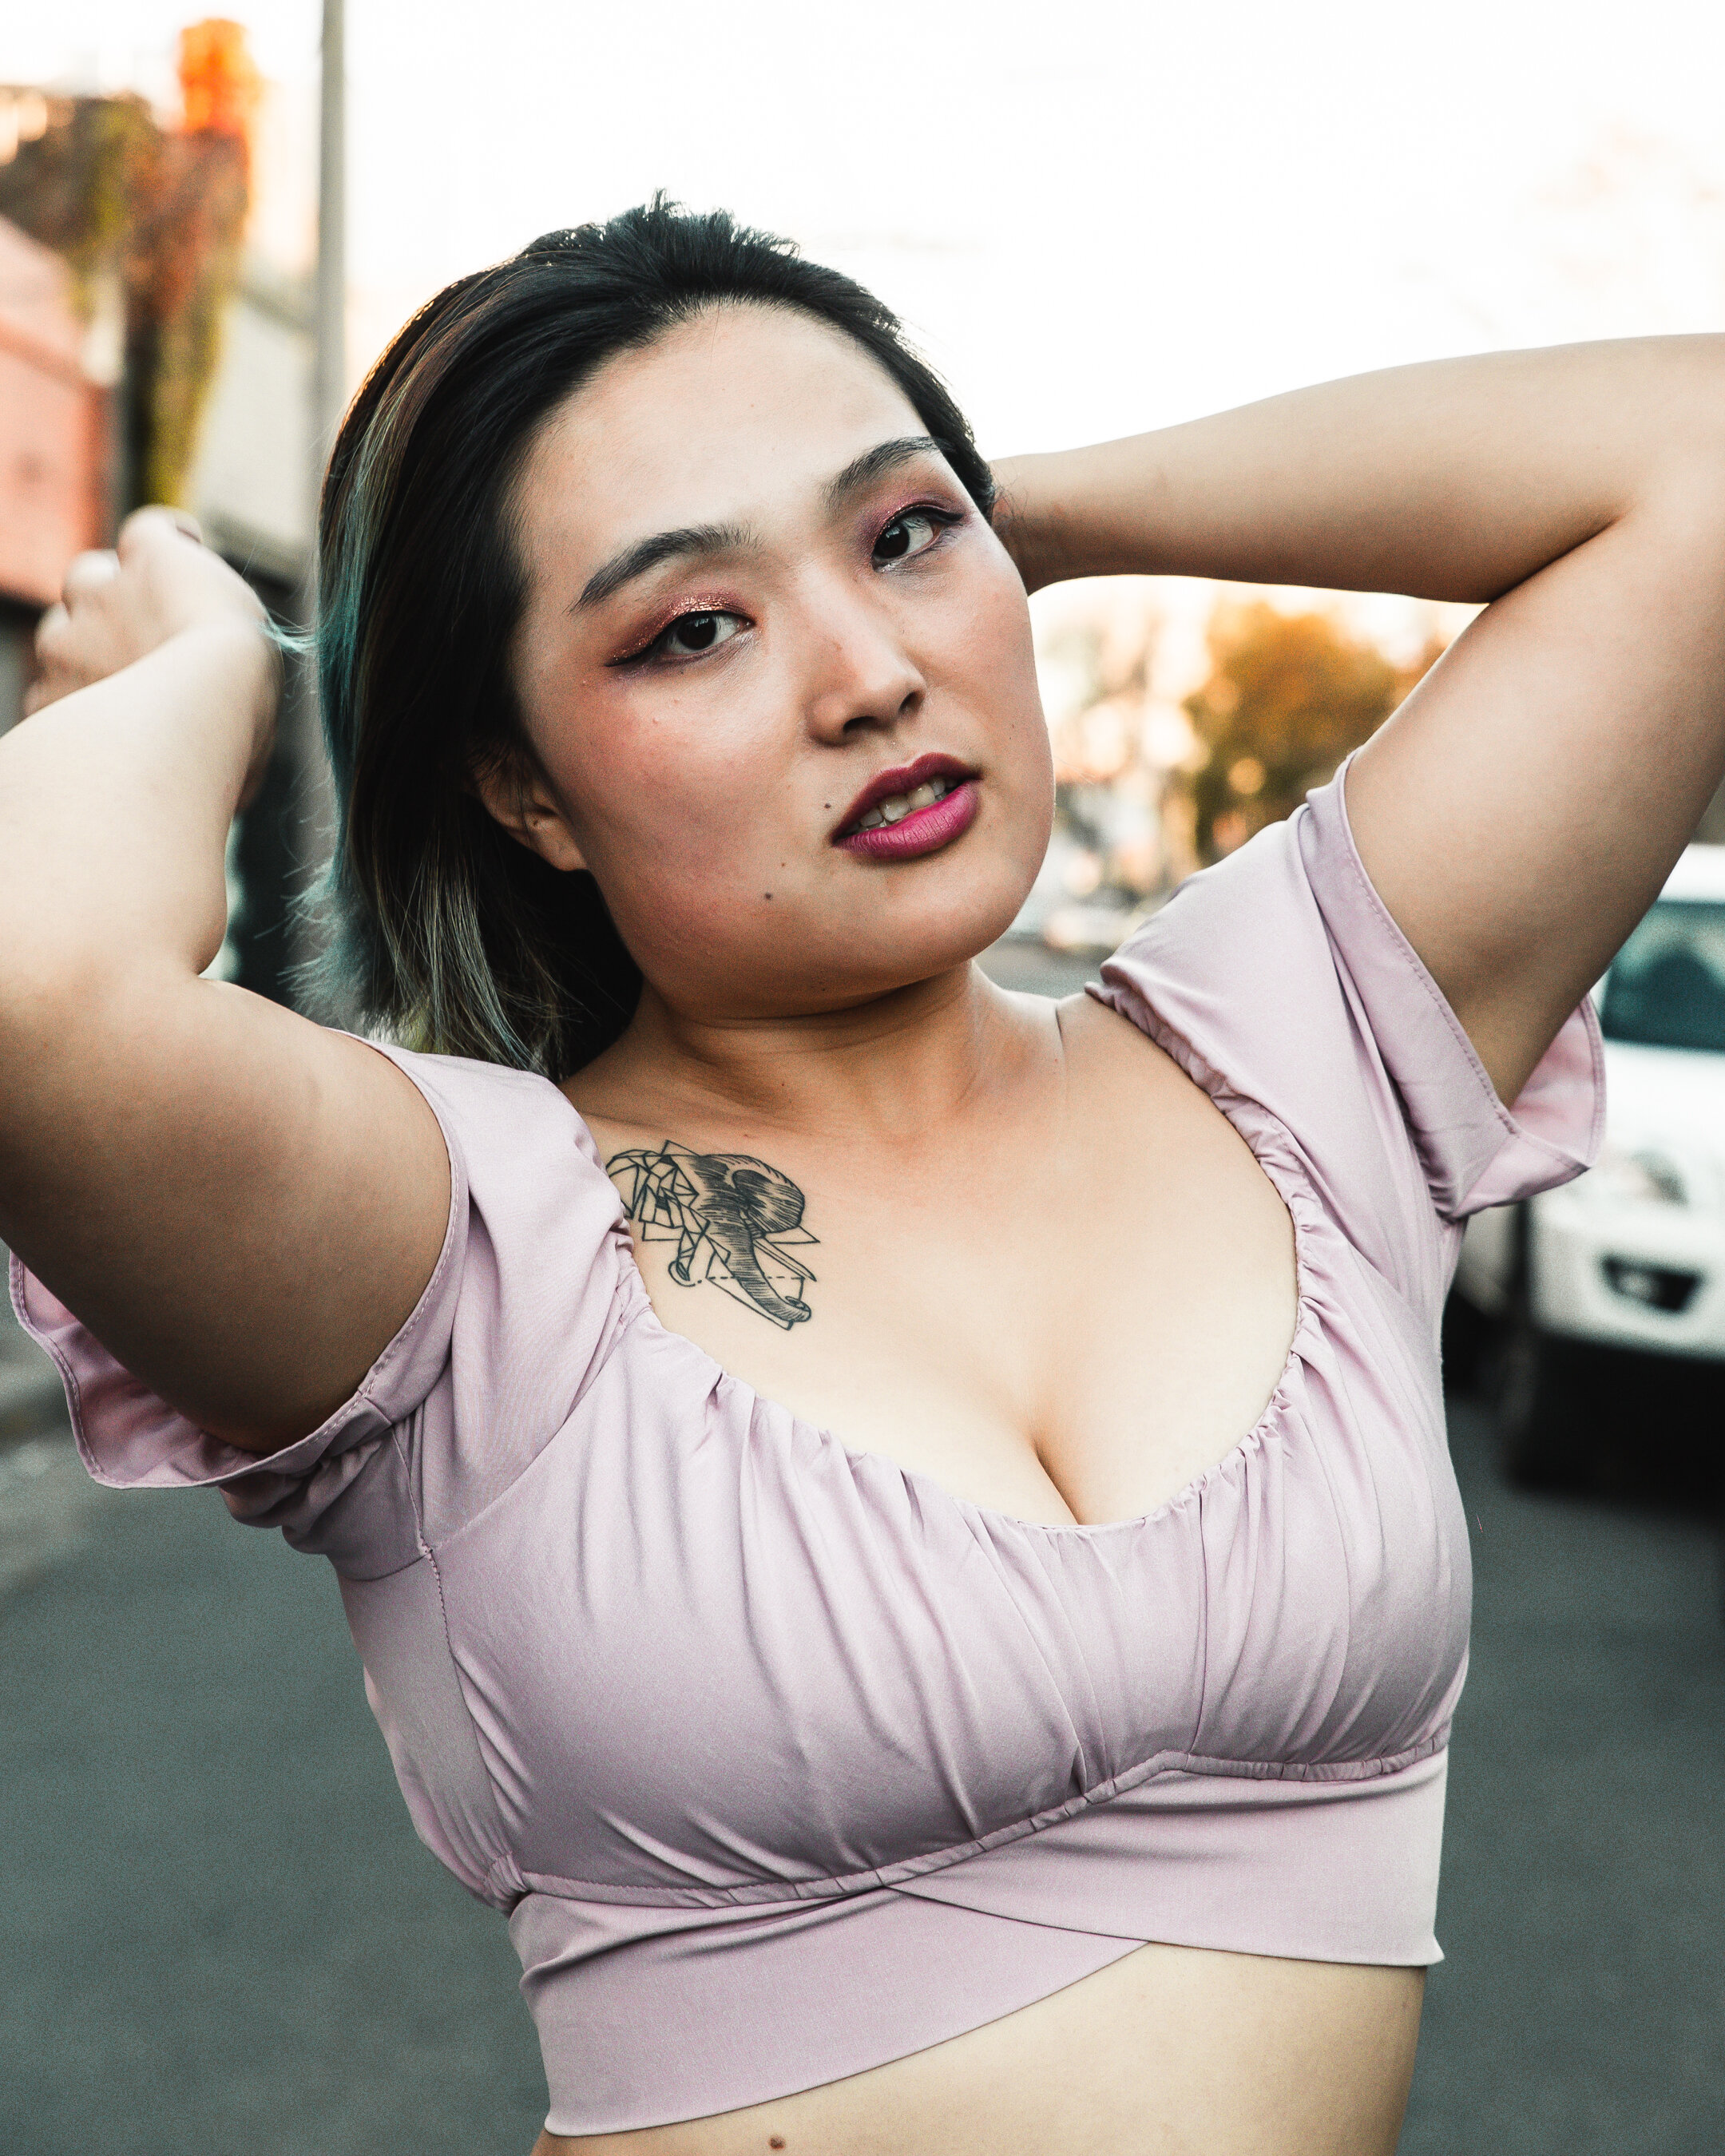
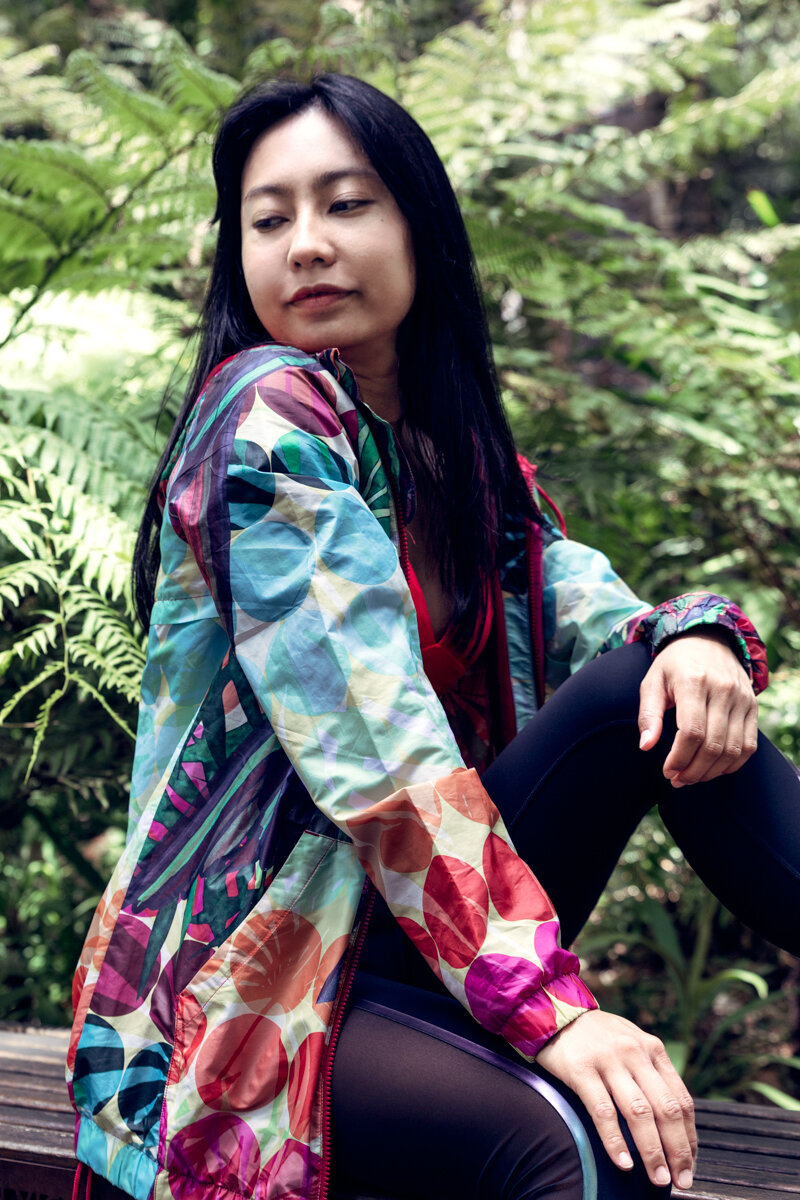
On the editing front, after I had retouched, smoothed out and colour corrected the skin, I saw Levels as an ideal starting point. A tool I rarely used in the past beyond the S curve, I soon discovered it’s vast potential in making detailed changes to the RGB mix. For more subtle alterations in temperature, I gave Colour Balance a shot. I usually colour balance is used in small amounts, but this time around I made changes in highlights and shadows. Colour Lookup provided me with an array of stylised filters I was previously unaware of (Photoshop already has a MAMMOTH library of colour filters for anyone to experiment with) that added the final touch to many of the images.

As I was working through the images I found COLOUR to be the focus of my editing, and I slowly but surely became more comfortable with using these new features. Adjusting the warmth / coolness to evoke a certain mood can very well be a creative starting point for a photoshoot. ! I still have a whole lot more to learn about Photoshop and it’s functions, but I feel quite content with making that jump into the deep end of the “pool-of-creativity”